How to Refurbish Your Golf Cart Batteries for Longer Life
Few things are more frustrating than plugging in your golf cart overnight, expecting a full charge, and finding it barely makes it around the neighborhood or golf course the next day. I’ve seen plenty of owners assume the batteries are beyond saving, only to discover they still had usable life left.
That’s why so many people want to know how to refurbish your golf cart batteries before spending hundreds or even thousands of dollars on a replacement set.
Golf cart batteries don’t usually fail overnight. In many cases, sulfation, poor charging habits, low water levels, or long periods of storage gradually reduce their capacity. I’ve worked on battery banks that seemed completely worn out but regained much of their performance after the right refurbishment process.
Knowing when and how to refurbish your batteries can improve runtime, restore performance, and delay the cost of buying new ones. It also helps you spot the warning signs of a battery that’s truly beyond repair, so you don’t waste time or money chasing a lost cause.
I’ll walk you through the refurbishment process step by step, explain which batteries can realistically be restored, and share the practical tips I’ve learned to help you get the longest possible life from your golf cart battery pack.
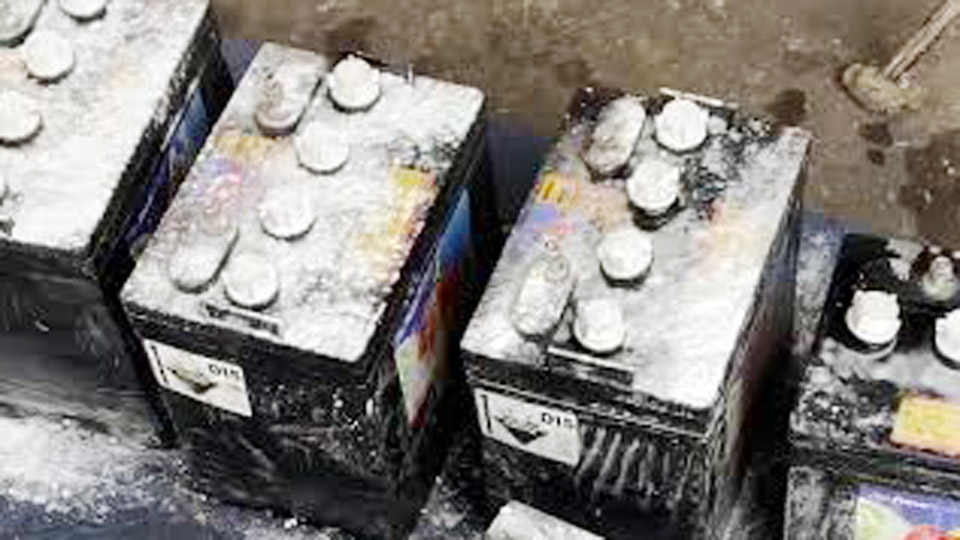
Image by jakewoodard
Golf Cart Battery Types and When Refurbishing Makes Sense
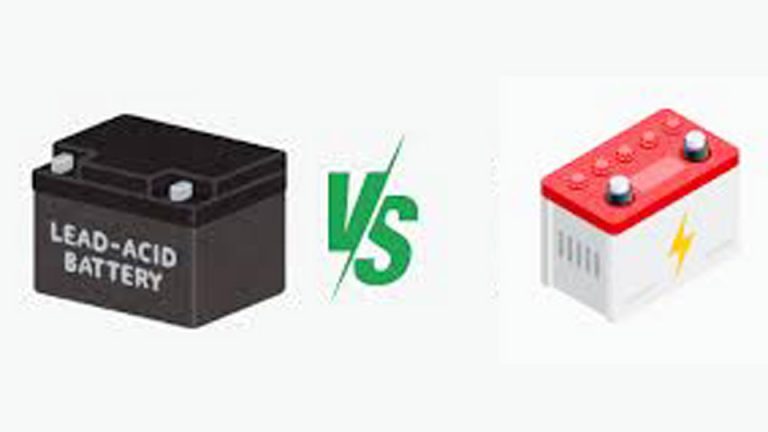
Golf carts primarily run on flooded lead-acid batteries, but AGM, gel, and lithium options exist. Knowing the differences helps decide if refurbishing fits or if it’s time for an upgrade.
Flooded Lead-Acid Batteries
These are the workhorses—affordable, widely available, and rebuild-friendly through maintenance. They use liquid electrolyte you can access. Pros: low upfront cost, proven in deep-cycle use. Cons: require regular watering, sensitive to over/undercharging, heavier, and prone to sulfation. Typical lifespan: 4-6 years with good care.
AGM (Absorbed Glass Mat)
Electrolyte is suspended in fiberglass mats. Pros: maintenance-free (no watering), spill-proof, better vibration resistance, faster charging than flooded. Cons: higher cost, less tolerant of deep discharges without proper charging, and harder to refurbish internally.
Gel Batteries
Similar to AGM but with gelled electrolyte. Pros: excellent for deep discharges, low self-discharge. Cons: very sensitive to overcharging (which can ruin them quickly), more expensive, and not ideal for high-current applications.
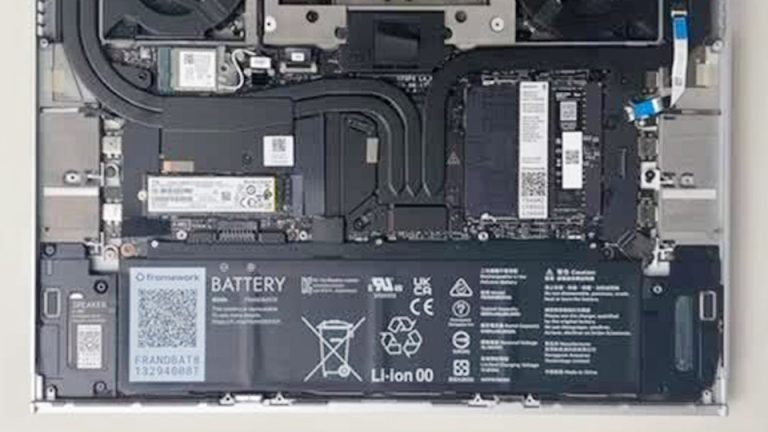
Lithium-Ion (LiFePO4)
Modern choice for many owners. Pros: much lighter (up to 70% weight savings), longer life (8-12+ years), faster charging, consistent voltage output, minimal maintenance. Cons: higher initial cost, requires compatible chargers and BMS protection.
Refurbishing works best on flooded lead-acid batteries. AGM and gel can benefit from external cleaning, proper charging, and balancing but you shouldn’t open them. Lithium packs rarely need “refurbishing” beyond diagnostics and occasional balancing—internal issues usually mean replacement.
Battery Voltage, Capacity, and Real-World Performance
A typical 48V golf cart uses six 8V batteries or four 12V. Capacity is rated in Amp-hours (Ah)—higher Ah means longer run time. Expect 150-250 Ah per battery in common packs. Voltage under load tells the real story: a healthy 6V battery rests around 6.3V fully charged; below 5.8V often signals trouble.
In practice, I’ve seen packs lose range from one weak battery dragging the others down. Always test individually.
Tools and Safety Essentials Before You Start
Safety comes first—batteries contain sulfuric acid and can release explosive hydrogen gas. Wear safety glasses, acid-resistant gloves, and old clothes. Keep baking soda nearby to neutralize spills. Work in a well-ventilated area, away from flames.
Essential tools:
- Digital voltmeter or multimeter
- Hydrometer (for flooded batteries)
- Distilled water
- Battery charger with equalization mode
- Baking soda, wire brush, terminal cleaner
- Load tester (optional but highly recommended)
- Epsom salt or commercial desulfator (for advanced steps)
- Turkey baster or funnel for electrolyte work
Step-by-Step Guide: How to Refurbish Golf Cart Batteries
Step 1: Inspect and Clean the Batteries
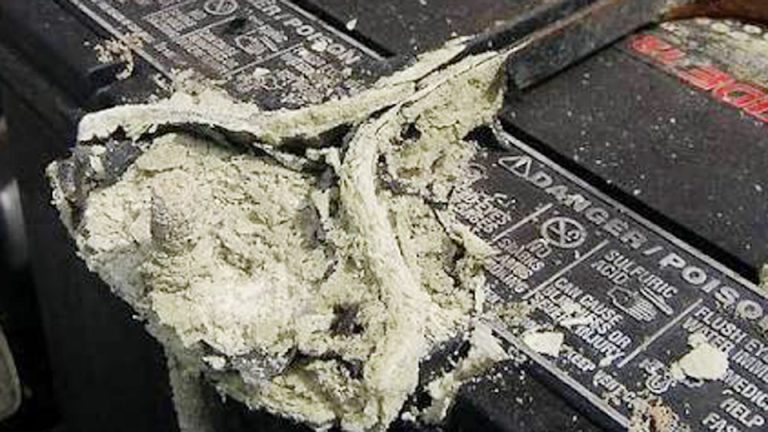
Park the cart, turn it off, and disconnect the batteries starting from the negative terminal to avoid shorts. Visually check for cracks, bulges, leaks, or excessive corrosion. Clean terminals and cables with a baking soda-water paste to neutralize acid, then scrub with a brush. Rinse and dry thoroughly. Clean corrosion prevents resistance that mimics weak batteries.
Step 2: Check and Refill Electrolyte Levels
For flooded batteries, remove vent caps carefully. Use a hydrometer or visually inspect—plates should be covered. Add only distilled water to the proper level (usually just above the plates or to the indicator line). Never add acid unless you know the exact issue; overfilling causes overflow during charging.
Common mistake: Using tap water introduces minerals that accelerate degradation.
Step 3: Test Individual Battery Health
Measure resting voltage after the pack has sat disconnected for a few hours. Compare each battery—variations over 0.2-0.3V indicate imbalance. Perform a load test if possible. A hydrometer reading below 1.225 specific gravity means low charge or sulfation.
Step 4: Initial Charging and Equalization
Use a smart charger matched to your pack voltage. Charge slowly at first. Many chargers have an equalization or desulfation mode—run this monthly on healthy packs and more aggressively on weak ones. Equalization applies a controlled higher voltage to mix electrolyte and break mild sulfation.
I’ve revived packs by trickle-charging individually first, then reconnecting for a full pack charge. Avoid fast chargers on sulfated batteries; they can overheat cells.
Step 5: Desulfation Techniques
Sulfation—hardened lead sulfate crystals—is the top killer. For mild cases, repeated equalization helps. For stubborn batteries, some use an Epsom salt solution (magnesium sulfate): dissolve about 1-2 tablespoons per cell in warm distilled water, add carefully, let sit, then charge normally. Results vary and it’s not a miracle fix.
Commercial desulfators or pulse chargers can help over weeks. I’ve seen modest gains, but severely sulfated batteries often stay weak.
Step 6: Reassemble, Balance, and Test
Reconnect in series, ensuring tight, clean connections. Charge the full pack, then test run the cart under load. Monitor voltages. If one battery lags, it may need replacement to save the pack.
Charging Methods and Best Practices
Proper charging prevents more problems than it solves. Match charger to battery type and voltage exactly. For lead-acid, bulk charge to ~14.4-14.8V per 12V equivalent, then float. Overcharging causes gassing, heat, and water loss. Undercharging leads to sulfation.
Real-world tip: Charge after every use, even short ones. Never let batteries sit discharged. Use a maintainer for seasonal storage. Extension cords can cause voltage drop—plug directly into the wall when possible.
Lithium packs need dedicated chargers with proper BMS communication for balance and protection.
Battery Maintenance Routines That Extend Life
Weekly or bi-weekly checks pay dividends. For flooded: check water levels, clean terminals, ensure even charging. Store in cool, dry conditions (50-77°F ideal). Avoid extreme temperature swings.
Common storage mistake: leaving batteries discharged over winter. This almost guarantees sulfation.
Troubleshooting Common Issues
- Cart won’t charge: Check connections, charger output, and individual battery voltages. One dead cell can prevent the charger from starting.
- Short runtime: Imbalanced pack or sulfation. Test and equalize.
- Overheating or swelling: Overcharging or internal short—replace affected battery.
- Corrosion everywhere: Poor maintenance; clean and apply dielectric grease.
I once diagnosed a pack where one battery had a bad cell dragging voltage down. Replacing just that one restored most performance.
Comparison of Battery Types for Golf Carts
| Battery Type | Upfront Cost | Maintenance | Lifespan (Years) | Weight | Deep Discharge Tolerance | Best For |
|---|---|---|---|---|---|---|
| Flooded Lead-Acid | Low | High | 4-6 | Heavy | Good | Budget, occasional use |
| AGM | Medium | Low | 5-7 | Medium | Better | Moderate use, vibration |
| Gel | Medium-High | Low | 5-7 | Medium | Excellent | Deep cycle, sensitive |
| Lithium (LiFePO4) | High | Very Low | 8-12+ | Very Light | Excellent | Daily use, performance |
Lithium shines in range and ease but requires compatible systems. Lead-acid wins on initial affordability if you’re willing to maintain them.
Real-World Applications Beyond Golf Carts
The same principles apply to other deep-cycle setups. Solar and off-grid systems use similar lead-acid or lithium banks—proper charging and maintenance prevent downtime during outages. Automotive and motorcycle batteries share sulfation issues, though they’re starter types.
UPS backups and power tools benefit from balanced charging to avoid premature failure. In every case, understanding your specific chemistry prevents costly mistakes.
Practical Recommendations for Longevity
- Use the correct voltage and current ranges: For 6V flooded, charging around 7.2-7.5V absorption.
- Store at partial charge in moderate temps.
- Match batteries in a pack by age and capacity.
- Establish a routine: clean, check water, equalize monthly.
- Invest in a good voltmeter and use it regularly.
Safety Considerations Every Time
Acid burns, hydrogen explosions, and electrical shorts are real risks. Never smoke near batteries. Dispose of old ones responsibly through recycling programs. When in doubt about lithium BMS or severe damage, consult a professional—safety trumps DIY savings.
Final Thoughts from the Workshop
After handling dozens of these packs, the biggest lesson is consistency beats one-time heroics. Refurbishing gives many batteries a second or third season, but prevention through proper charging and maintenance stretches that further.
You now understand the types, the failure modes, the step-by-step fixes, and the habits that keep things running. Next time your cart feels off, you’ll know exactly where to start and what to watch for.
After any major work or seasonally, perform a full equalization charge on lead-acid packs, then let them rest overnight and recheck individual voltages. That single step catches imbalance early and keeps the whole pack healthy longer than most owners ever achieve.
FAQ
How long do refurbished golf cart batteries typically last?
It depends on original condition and follow-up care. Many gain 1-3 more years of usable service with regular maintenance. Severely degraded ones may only improve modestly—test thoroughly afterward.
Can I refurbish AGM or lithium golf cart batteries the same way?
No. AGM and gel benefit from cleaning and proper charging but cannot be opened or have electrolyte added. Lithium focuses on charger compatibility, balancing, and avoiding extreme temperatures—internal refurbishing isn’t practical for most users.
What’s the best desulfation method for golf cart batteries?
Start with equalization charging. Epsom salt or pulse desulfators help some cases, but results aren’t guaranteed. Slow, repeated charging cycles often work as well as anything for mild sulfation.
How often should I check water levels in golf cart batteries?
Every 1-4 weeks during heavy use, or monthly otherwise. More frequently in hot weather when gassing increases evaporation.
Is it worth refurbishing old golf cart batteries or should I just replace them?
If they’re only 2-4 years old and show mild issues, yes—refurbishing is economical. Beyond 5-6 years or with physical damage, replacement (especially lithium upgrade) often makes more sense for reliability and performance.