How to Remove an Internal Laptop Battery Safely & Correctly
Many people rely on their laptops every day. But what happens when your laptop battery starts failing and it’s not removable from the outside? Internal laptop batteries are common in modern devices, and replacing them can feel intimidating. If you know the right steps, you can remove an internal laptop battery safely—even if you aren’t a tech expert.
This guide will walk you through every detail, from preparation to safe disposal, and share tips that most beginners miss. You’ll learn how to avoid mistakes, protect your data, and make sure your laptop stays in good condition throughout the process.
Understanding Internal Laptop Batteries
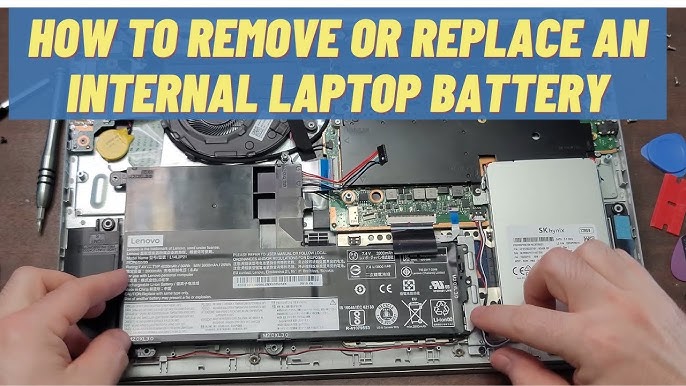
Before you start, it’s important to know what an internal battery is. Unlike older laptops with removable batteries, newer models have batteries hidden inside the chassis. You can’t just pop them out—removal often means opening the laptop case.
Most internal batteries are Lithium-ion or Lithium-polymer. They’re lightweight, powerful, and last longer than older types. However, they must be handled carefully because puncturing or damaging them can be dangerous.
Many brands use internal batteries, including:
- Apple MacBook
- Dell XPS
- Lenovo ThinkPad
- HP Spectre
Knowing your laptop model helps you find the right battery and instructions. Some laptops have unique screws or clips, so check your manual or manufacturer’s website before starting.
Why Remove An Internal Laptop Battery?
There are several reasons to remove an internal battery:
- Battery failure: Your laptop doesn’t hold a charge, or shuts off suddenly.
- Swelling battery: The battery looks bloated, which can damage the laptop and is a fire risk.
- Upgrade: You want a higher-capacity battery for longer use.
- Repairs: You need to access other components, such as the hard drive or RAM.
- Recycling: You’re disposing of the laptop and want to recycle the battery responsibly.
According to a 2026 survey by Statista, about 27% of laptop users replaced their battery at least once in their device’s life cycle. Swelling batteries are rare but dangerous; they affect roughly 2-3% of laptops after three years.
Credit: www.youtube.com
Preparing For Battery Removal
Taking out an internal battery isn’t just about unscrewing things. Preparation is key. Here’s what you need to do:
Gather Tools And Materials
You’ll need a few basic tools:
- Small Phillips screwdriver (size #0 or #00)
- Plastic spudger or opening tool
- Anti-static wrist strap
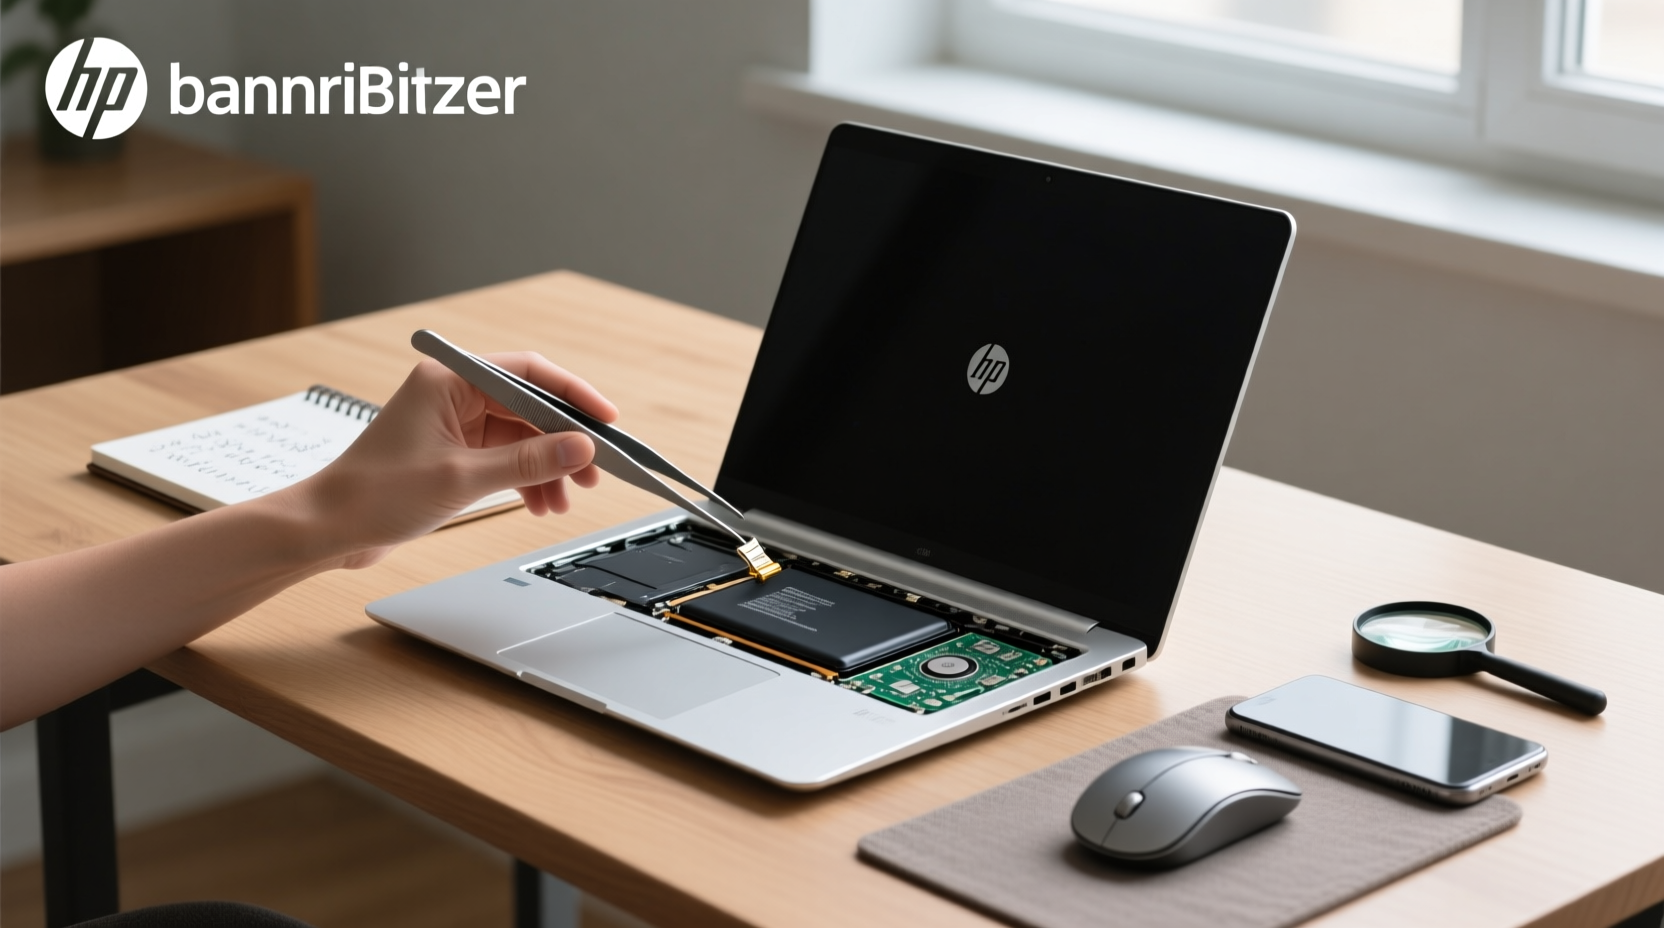
- Tweezers
- Small container for screws
For some laptops, you might need a Torx screwdriver or special bits. Check your laptop’s manual or look up your model online.
Backup Your Data
Removing the battery can accidentally trigger a shutdown or damage components. Back up important files before starting, using an external drive or cloud storage.
Power Down And Disconnect
Always shut down your laptop completely. Unplug it from the power source and remove any external devices (USB drives, SD cards, etc.).
Work In A Safe Environment
Choose a clean, flat workspace. Avoid carpets (static risk) and keep liquids away. Wear an anti-static wrist strap to protect sensitive electronics from static discharge.
Step-by-step Guide To Removing An Internal Laptop Battery
Now it’s time for the main event. These steps work for most laptops, but always check your model’s guide for specifics.
1. Remove The Back Cover
Most laptops have a bottom panel secured by screws.
- Flip your laptop upside down.
- Use a screwdriver to remove all visible screws. Some screws may be hidden under rubber feet or stickers.
- Place screws in your container so you don’t lose them.
- Use a plastic spudger to gently pry open the back cover. Don’t force it—look for clips or tabs.
Non-obvious tip: Some covers require sliding, not lifting. If it feels stuck, check for a sliding mechanism.
2. Locate The Battery
The battery is usually a flat, rectangular pack with wires connecting it to the motherboard. It’s often labeled and may have screws or clips holding it in place.
3. Disconnect The Battery Connector
Find the cable connecting the battery to the motherboard. It’s usually a small plastic plug.
- Use your fingers or tweezers to gently pull the connector away from the motherboard.
- Don’t yank or twist the wires; pull evenly.
- Some connectors have latches—release them before pulling.
Non-obvious tip: If the connector is tight, wiggle it gently side-to-side. Never pull straight up unless the connector is designed for it.
4. Unscrew Or Unclip The Battery
Most batteries are held by screws. Remove them carefully.
- If there are clips, press them to release the battery.
- Lift the battery out smoothly, without bending or flexing it.
5. Inspect The Battery And Laptop
Check for signs of damage, corrosion, or swelling. If the battery is bloated, handle it with extra care and place it in a fireproof container.
6. Replace Or Reinstall
If you’re installing a new battery, fit it into the same spot and reconnect the cable. Screw or clip it in place.
If you’re not replacing it immediately, cover the connector with tape to prevent accidental short circuits.
7. Reattach The Back Cover
Put the cover back on, making sure all clips and screws are secure. Boot your laptop and check if everything works.
Credit: electronics.alibaba.com
Common Mistakes And How To Avoid Them
Removing an internal battery is straightforward, but common mistakes can cause problems.
- Forgetting to unplug the laptop: Always disconnect from power.
- Losing screws: Use a container or magnetic mat for screws.
- Using metal tools: Stick to plastic spudgers to avoid short circuits.
- Forcing connectors: If something won’t move, check for hidden clips.
- Touching the motherboard with bare hands: Use an anti-static strap to prevent damage.
Many beginners skip checking for hidden screws under stickers or rubber feet. This can result in cracked covers. Also, some people forget to back up their data—don’t risk losing important files.
Which Laptops Have Internal Batteries?
Not all laptops have internal batteries. Here’s a comparison of popular brands and whether their batteries are usually internal or external.
| Laptop Brand | Typical Battery Type | Ease of Removal |
|---|---|---|
| Apple MacBook | Internal | Difficult |
| Dell XPS | Internal | Moderate |
| Lenovo ThinkPad | Internal/External | Easy/Moderate |
| HP Spectre | Internal | Moderate |
| Acer Aspire | External | Easy |
If you have a MacBook or an ultrabook, expect a more challenging removal process. Business laptops like ThinkPads sometimes have both internal and external batteries.
What To Do After Removing The Battery
Once the battery is out, you have several choices:
Install A New Battery
If you’re replacing a faulty battery, install the new one immediately. Make sure it’s the right model and capacity. Reconnect, screw it down, and test your laptop.
Use Without Battery
Some people use their laptop plugged in, without a battery. This is possible, but:
- Power outages can cause sudden shutdowns.
- You lose portability.
Dispose Of Old Battery Safely
Never throw laptop batteries in the trash. They contain chemicals and can catch fire. Take them to a recycling center or electronics store that accepts batteries.
According to the US Environmental Protection Agency, recycling prevents pollution and saves resources. In 2026, over 18,000 tons of lithium-ion batteries were recycled in the US.
Clean Internal Components
With the battery out, you can clean dust from fans and vents. Use compressed air gently. Avoid touching chips or connectors.
Comparing Internal And External Batteries
Understanding the difference can help you decide whether to upgrade your laptop or stick with your current model.
| Feature | Internal Battery | External Battery |
|---|---|---|
| Ease of Replacement | Difficult | Easy |
| Design | Slim, integrated | Bulky, removable |
| Durability | Better protection | More exposed |
| Cost of Replacement | Higher | Lower |
| Portability | Improved | Reduced |
Internal batteries make laptops thinner and lighter, but harder to fix. External batteries are easier to replace, but not as sleek.
Signs Your Internal Battery Needs Removal
Sometimes, you might not be sure if removal is necessary. Look for these signs:
- Battery swelling: The laptop case bulges or feels uneven.
- Rapid battery drain: The charge drops from 100% to 0% quickly.
- Laptop won’t power on: Even with the charger, it stays off.
- Battery error messages: Windows or macOS warns about battery health.
- Overheating: The laptop gets hot, even when not charging.
If you notice swelling, act fast. Swollen batteries can damage screens, keyboards, and pose a fire hazard.
Practical Tips For Beginners
Removing an internal battery can be tricky the first time. Here are tips to make it easier:
- Watch video tutorials for your model on YouTube.
- Take photos during each step, so you remember where screws and connectors go.
- Don’t rush. Set aside at least 30–45 minutes.
- If you’re unsure, ask a friend with experience or visit a repair shop.
Many laptops have manufacturer guides online. For example, you can find detailed instructions for most Dell laptops at the official Dell support site.
How To Find The Right Replacement Battery
If you’re swapping your battery, choosing the correct one matters. Look for:
- Model number: Printed on the old battery or in your laptop manual.
- Voltage and capacity: Match the specs exactly.
- Brand compatibility: OEM (original) batteries are safer but more expensive.
Avoid cheap, unbranded batteries—they can fail quickly or even damage your laptop. According to a study by Consumer Reports, non-OEM batteries have a 17% higher failure rate.
Safety Tips For Internal Battery Removal
Safety is crucial. Internal batteries can leak, catch fire, or explode if mishandled.
- Never puncture, bend, or crush the battery.
- If you see fluid or smell something strange, stop and ventilate the room.
- If the battery is swollen, place it in a metal or fireproof box.
- Keep pets and children away during the process.
Always recycle batteries at a certified facility. You can find locations near you at the EPA website.
Data Protection During Battery Removal
Removing the battery can sometimes cause data loss if you accidentally turn off the laptop during the process.
- Save and close all files before shutting down.
- Back up data to an external drive or cloud.
- Avoid working on the laptop if it’s on or in sleep mode.
If your laptop uses BIOS or UEFI settings, removing the battery may reset them. Note down any custom settings before starting.
Troubleshooting After Battery Removal
After reinstalling or replacing your battery, you might face issues. Here’s how to solve them:
Laptop Doesn’t Turn On
- Check if the battery connector is plugged in fully.
- Try booting with the charger only.
- Double-check all internal connections.
Battery Not Detected
- Ensure the new battery matches your model.
- Restart the laptop and update BIOS/firmware if needed.
- If the battery is non-OEM, compatibility may be an issue.
Random Shutdowns
- Re-seat the battery and check for loose screws.
- Update power settings in your operating system.
If you still have problems, visit a repair shop or contact customer support.
Professional Vs Diy Removal: Which Is Better?
Some people prefer to let professionals handle internal battery removal. Here’s a comparison:
| Aspect | DIY Removal | Professional Service |
|---|---|---|
| Cost | Low (just tools) | High ($50–$150) |
| Time | 30–60 minutes | 1–3 days |
| Risk | Medium (if inexperienced) | Low |
| Warranty | May void | Usually protected |
| Convenience | Do it anytime | Need appointment |
DIY is cheaper and faster, but carries risk if you’re not careful. Professional services cost more but offer peace of mind.
Where To Find Reliable Battery Removal Guides
Many laptop makers provide official guides online. For example, Dell Support offers step-by-step instructions with pictures for most models. Look for your laptop model and follow their advice for best results.
Frequently Asked Questions
What Tools Do I Need To Remove An Internal Laptop Battery?
You’ll need a small Phillips screwdriver, a plastic spudger, tweezers, and an anti-static wrist strap. Some laptops need special bits like Torx. A container for screws helps keep them organized.
Can Removing The Battery Damage My Laptop?
If you follow the steps carefully, it’s safe. Avoid using metal tools, don’t force connectors, and always wear an anti-static strap. Never remove the battery while the laptop is plugged in.
Is It Possible To Use My Laptop Without A Battery?
Yes. You can run your laptop plugged into the wall, but you lose portability and risk data loss if the power goes out. Some laptops may not boot without a battery, so check your model.
How Do I Dispose Of An Old Laptop Battery?
Take it to an electronics recycling center or a store that accepts batteries. Never throw it in the trash—it’s dangerous and bad for the environment. The EPA has a list of recycling locations.
How Do I Know Which Replacement Battery To Buy?
Check your laptop’s model number, voltage, and capacity. Choose an OEM battery if possible. Avoid cheap, non-branded replacements, as they have a higher failure rate and could damage your laptop.
Removing an internal laptop battery is a practical skill that saves money and extends your device’s life. If you prepare, use the right tools, and follow safety steps, you can handle the process confidently—even as a beginner. Always protect your data, recycle old batteries responsibly, and don’t hesitate to ask for help if you’re unsure.
With the right approach, your laptop will be ready for new adventures.