How to Change to Lithium Battery in Golf Cart Safely
The first time I helped convert a golf cart from lead-acid to lithium, the owner was tired of dealing with sluggish performance, frequent watering, and batteries that never seemed to last through a full day on the course. After the upgrade, the difference was easy to notice—faster charging, better acceleration, and far less maintenance.
If you’re wondering how to change to lithium battery in golf cart, you’re not alone. It’s one of the most worthwhile upgrades many golf cart owners consider.
That said, swapping batteries isn’t as simple as removing the old ones and dropping in new lithium packs. You need to make sure the battery voltage matches your golf cart, check whether the existing charger is compatible, and verify that the cables and battery management system are set up correctly. Missing any of these steps can lead to charging issues, reduced performance, or unnecessary repair costs.
I’ve seen DIY conversions go smoothly, and I’ve also seen people run into problems because they skipped the planning stage. Taking a little extra time to understand the process can improve your golf cart’s range, extend battery life, and help you get the most out of your investment.
I’ll walk you through the entire conversion process step by step, explain the tools and parts you’ll need, highlight common mistakes to avoid, and share practical tips to make your lithium battery upgrade safe, reliable, and hassle-free.
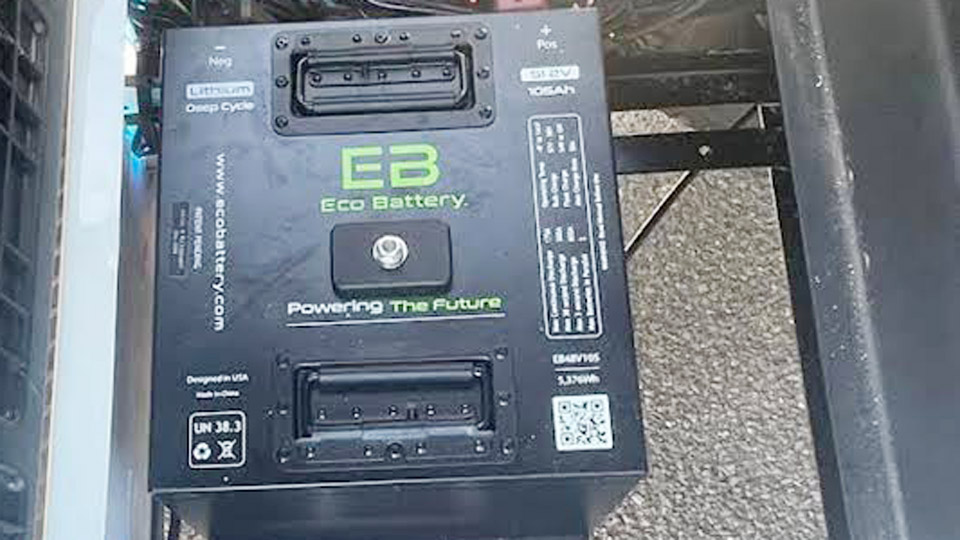
Image by mobilegolfcartrepair
Why Make the Switch to Lithium in Your Golf Cart?
Lead-acid batteries have powered golf carts reliably for decades, but they come with baggage. A typical set of six 8-volt flooded batteries weighs a couple hundred pounds, needs regular watering, and lasts 3-5 years with decent care—or less if neglected. You charge slowly overnight, lose capacity in cold weather, and deal with sulfation if left discharged.
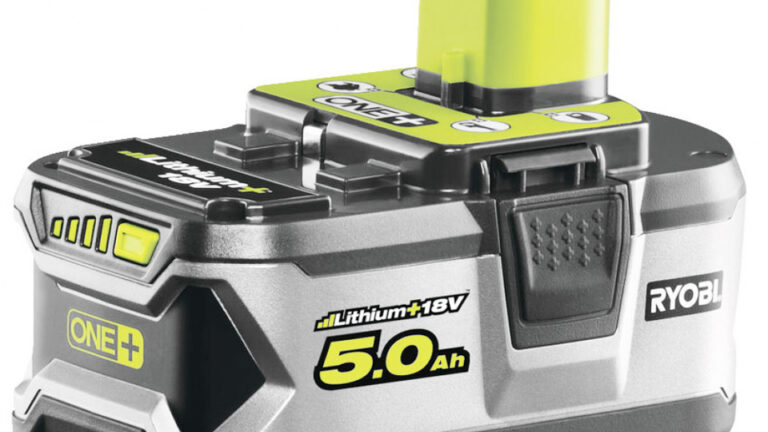
Lithium, specifically LiFePO4 (lithium iron phosphate), changes the game. A comparable 48V pack might weigh a third as much, deliver consistent voltage under load for better acceleration and hill-climbing, charge in a few hours, and last 8-10+ years with thousands of cycles. No watering, minimal maintenance, and far less self-discharge.
In real life, I’ve seen carts go from struggling on the back nine to running multiple rounds with power to spare.
The upfront cost stings—often $1,500-$3,000 versus $800-$1,500 for lead-acid—but over time it pays off through longevity, efficiency, and reduced hassle. For solar or off-grid users, the same chemistry excels in deep-cycle applications with high efficiency.
Understanding Battery Types: Lead-Acid, AGM, Gel, and Lithium
Before touching a wrench, know your options. Not every “lithium” is ideal for golf carts, and legacy types still have places.
Flooded Lead-Acid: The classic. Affordable, but requires monthly watering, venting for gases, and careful charging to avoid stratification. Prone to sulfation and corrosion. Best for budget setups with regular maintenance.
AGM (Absorbed Glass Mat): Sealed lead-acid variant. No watering, better vibration resistance, and lower self-discharge. Handles moderate deep cycling but still heavier and shorter-lived than lithium. Great upgrade from flooded without full lithium commitment.
Gel: Another sealed type with thickened electrolyte. Excellent for very deep discharges and slow charging, but sensitive to overcharging and performs poorly in extreme temperatures. Less common in modern golf carts.
Lithium-Ion (LiFePO4): The star for conversions. Built-in Battery Management System (BMS) protects against over/under-voltage, overcurrent, and temperature extremes. High energy density, 80-100% usable capacity (versus 50% recommended for lead-acid), and stable output. Nominal voltages like 51.2V for “48V” systems work seamlessly with most controllers.
Pros and Cons Comparison:
- Lifespan & Cycles: Lead-acid/AGM/Gel: 300-1,000 cycles. LiFePO4: 2,000-5,000+ cycles.
- Weight: Lead-acid sets are heavy; lithium drops 60-70%.
- Charging Time: Lead-acid: 8-12+ hours. Lithium: 2-5 hours with proper charger.
- Maintenance: Lead-acid needs watering/equalization. Lithium: Almost none.
- Cost: Lithium higher initially, but lower total ownership cost.
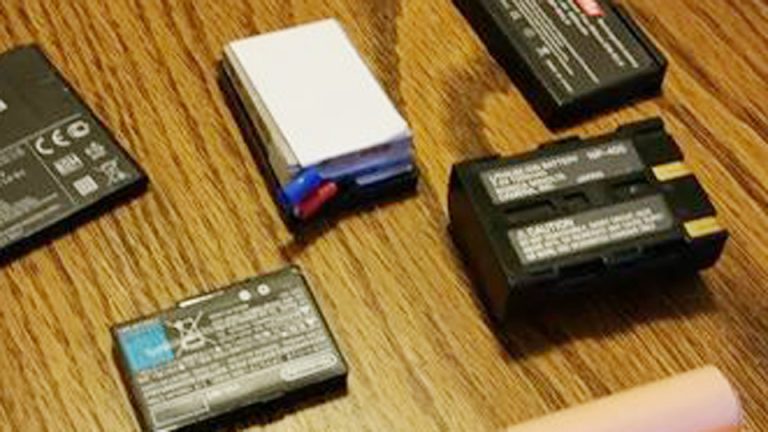
In solar or UPS systems, lithium shines for daily cycling. In cars or motorcycles, lightweight lithium starters or auxiliaries reduce weight. For power tools or electronics, smaller LiFePO4 packs provide reliable runtime without memory effect.
Assessing Your Golf Cart and Planning the Conversion
Start by identifying your cart’s voltage: typically 36V, 48V, or higher in performance models. Count batteries or check the controller/speed controller label. Match the lithium pack exactly—do not mix voltages.
Measure your battery compartment. Many lithium kits include brackets or trays for drop-in fit, but older carts may need modifications like cutting dividers or adding risers. Factor in a 12V converter if your accessories (lights, horn) rely on tapping the pack; lithium packs often include one or require a separate reducer.
Budget for a lithium-specific charger. Lead-acid chargers can overcharge lithium, damaging the BMS or reducing life. Look for one matching voltage with CC/CV (constant current/constant voltage) profile, often around 54.6V-58.4V absorption for 48V systems.
Tools needed: Wrenches, battery terminal puller or lift, wire cutters/crimpers, multimeter, safety gear (gloves, glasses), and possibly new cables if lengths differ.
Step-by-Step: How to Change to Lithium Battery in Golf Cart
Safety First: Park on level ground, set to Tow/Run switch to Tow, remove key, and disconnect the main negative cable. Wear protection—batteries can arc or spill acid during removal.
Remove Old Batteries: Lift the seat, disconnect all interconnect cables (positive to negative chain), then main power cables. Note positions for reinstall if needed. Use a battery puller—these are heavy and awkward. Dispose responsibly or sell cores.
Clean the Compartment: Remove corrosion, debris, or old brackets. Inspect wiring and controller for issues. Clean terminals thoroughly.
Prepare Mounting: Install any provided brackets or fabricate supports. Lithium packs are lighter but still need secure hold-downs to prevent shifting.
Install the Lithium Pack: Position the new battery. Connect cables following original polarity—positive to positive paths. Many kits simplify to fewer connections since it’s often a single large pack instead of six individuals.
Handle Charging Port and Interlock: Remove the old receptacle and wire the new one. The charger interlock wire (often prevents driving while plugged in) may need a jumper or proper connection—common reason carts won’t move post-conversion.
Add Accessories: Install battery monitor/Bluetooth gauge if included. Connect 12V reducer for accessories. Double-check all connections are tight and insulated.
Test and Charge: Reconnect main power. Use the new charger. Monitor initial charge with a multimeter. Test drive for performance.
The whole process can take a few hours for a straightforward swap, longer if modifying the tray.
Common Mistakes and How to Avoid Them
Beginners and pros alike slip up. Here’s what I’ve seen:
- Using the old charger: Leads to improper voltage and early failure.
- Ignoring the interlock/jumper: Cart won’t move.
- Poor mounting: Vibration damages packs over time.
- Mismatched voltage or low Ah capacity: Weak performance.
- Over-discharging during testing: BMS shuts down—reset per manual.
- Neglecting cable sizing: Undersized wires cause voltage drop and heat.
For storage, keep lithium at 50-80% in cool, dry conditions. Check every 3 months. Avoid extreme temperatures.
Charging, Maintenance, and Troubleshooting
Lithium likes smart charging. Charge after use to full; many BMS handle float safely, but follow manufacturer specs. Correct voltages: For 48V nominal (51.2V), full charge around 54-58V depending on cell config.
Maintenance is minimal: Keep clean, inspect connections annually, monitor via app if available. In cold weather, some packs have heaters—worth it for northern climates.
Troubleshooting: No power? Check BMS (some have reset buttons). Slow performance? Verify connections and state of charge. Error codes? Consult the manual or Bluetooth diagnostics.
These principles apply broadly: Proper charging prevents degradation in any lithium setup, whether golf cart, solar bank, or EV auxiliary.
Real-World Applications Beyond Golf Carts
The same lithium upgrade logic works elsewhere. In cars and motorcycles, lightweight lithium reduces weight and improves starting. Solar and deep-cycle systems benefit from high efficiency and deep discharge tolerance without sulfation worries.
UPS backups stay reliable longer with minimal maintenance. Even power tools last longer on quality LiFePO4 packs.
I’ve helped friends convert solar sheds and seen dramatic runtime increases with fewer panels needed due to efficiency.
Safety Considerations for All Battery Work
Always respect electricity and chemistry. Lithium has built-in protections but avoid shorting, puncturing, or exposing to fire. Lead-acid risks acid burns and hydrogen gas explosions during charging. Use proper PPE, work in ventilated areas, and never mix old and new batteries.
Dispose of old batteries through certified recyclers.
Practical Recommendations for Longevity
- Match charger, voltage, and capacity precisely.
- Use quality cables and fuses.
- Install a shunt monitor for accurate SOC.
- For hybrid setups, ensure compatibility.
- Routine: Clean terminals, check for damage, store properly.
Comparison Table: Battery Types for Golf Carts
| Aspect | Flooded Lead-Acid | AGM/Gel | LiFePO4 Lithium |
|---|---|---|---|
| Lifespan (Years) | 3-5 | 4-7 | 8-12+ |
| Weight | Heavy | Medium | Very Light |
| Maintenance | High (water) | Low | Minimal |
| Charge Time | Long | Medium | Fast |
| Usable Capacity | ~50% | ~60-80% | 90-100% |
| Upfront Cost | Low | Medium | Higher |
| Total Cost Over Time | Higher | Medium | Lower |
Final Takeaways from the Shop Floor
Switching to lithium in your golf cart—or applying these lessons to any battery system—boils down to matching technology to your needs, doing the install carefully, and maintaining smart habits. You’ve learned the types, the steps, the traps, and the real payoffs in performance and peace of mind.
Always verify the charger interlock and test under load before buttoning everything up. A quick drive around the block reveals issues early and saves headaches later. With lithium, your cart (and other systems) will run stronger and longer than you expected. Get out there and enjoy the upgrade.
FAQ
How much does it cost to convert a golf cart to lithium battery?
Expect $1,500-$3,500 for a quality 48V pack, charger, and accessories, depending on capacity and features. Factor in any tray modifications. Long-term savings usually offset this within a few years.
Can I use my old lead-acid charger with a lithium battery?
Generally no. Lead-acid chargers often have higher voltage profiles that can damage lithium BMS or cause incomplete charging. Invest in a dedicated lithium charger for safety and longevity.
How long do lithium golf cart batteries last?
Typically 8-12 years or 3,000-5,000+ cycles with proper care, far outpacing lead-acid. Real results depend on usage, temperature, and charging practices.
Do I need to modify my golf cart for lithium batteries?
Often minimal—mainly secure mounting and charger port. Some trays need dividers removed or brackets added. Many kits are near drop-in.
What voltage lithium battery for a 48V golf cart?
A 51.2V nominal LiFePO4 pack is standard and compatible. It provides the right operating range for 48V controllers. Always confirm with your cart’s specs.