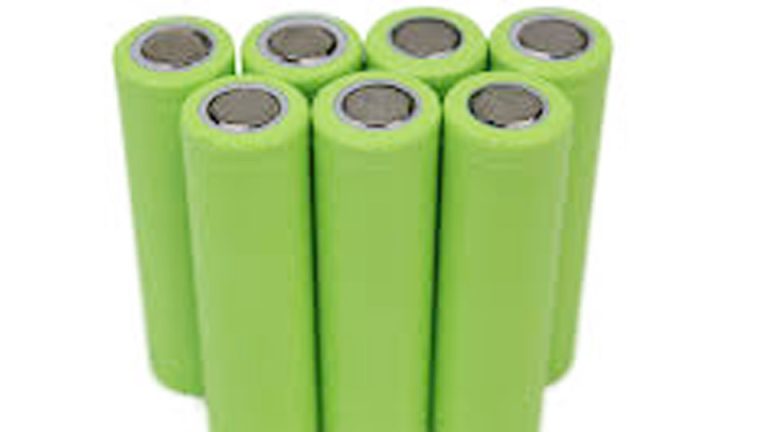
How to Connect Lithium Battery to Growatt Inverter Safely
Connecting a lithium battery to a Growatt inverter is a practical project for anyone moving towards solar energy or backup power. Many people want to upgrade from lead-acid batteries to lithium batteries because they last longer, are lighter, and are more efficient.
The process can feel intimidating if you’re new to solar systems or battery technology. This guide shows you how to connect your lithium battery safely and correctly to a Growatt inverter, step-by-step.
You’ll learn what equipment you need, how to wire the system, common mistakes to avoid, and how to get the best performance from your setup.
Why Choose Lithium Batteries For Growatt Inverters?
Lithium batteries have become the preferred choice for solar inverters like Growatt because they offer several advantages over traditional lead-acid batteries. They deliver higher efficiency (often 90%+), have a longer lifespan (up to 10 years or more), and require less maintenance.
For example, a typical lithium battery can handle over 5,000 cycles, while lead-acid batteries usually offer fewer than 1,500 cycles.
Growatt inverters are designed to work with both battery types, but they perform best with lithium batteries thanks to their stable voltage and smart communication features. This means your solar setup will be more reliable, provide better backup during power outages, and save money in the long run.
Choosing The Right Lithium Battery
Not all lithium batteries are the same. It’s important to pick a battery that matches your inverter and your energy needs. Here’s what to consider:
- Voltage Compatibility: Most Growatt inverters require batteries with voltages of 48V. Always check your inverter’s specifications before buying.
- Capacity (Ah): Decide how much power you want to store. For home backup, a 100Ah battery might be enough, but larger homes may need more.
- Battery Chemistry: The safest and most popular option is LiFePO4 (Lithium Iron Phosphate). It’s stable, safe, and lasts longer.
- Communication Protocol: Look for batteries that support RS485, CAN, or Modbus communication. This allows the battery and inverter to “talk,” improving efficiency and safety.
Here’s a comparison between common lithium battery types suitable for Growatt inverters:
| Battery Type | Voltage | Cycle Life | Communication | Safety |
|---|---|---|---|---|
| LiFePO4 | 48V | 5,000+ | RS485, CAN | Very High |
| Lithium-ion | 48V | 2,000–3,000 | RS485, CAN | High |
| Lead-acid (for comparison) | 48V | 1,000–1,500 | No | Medium |
Non-obvious insight: Some lithium batteries advertise a high capacity but lack proper communication ports. Without these, your Growatt inverter can’t manage charging efficiently, risking battery damage.
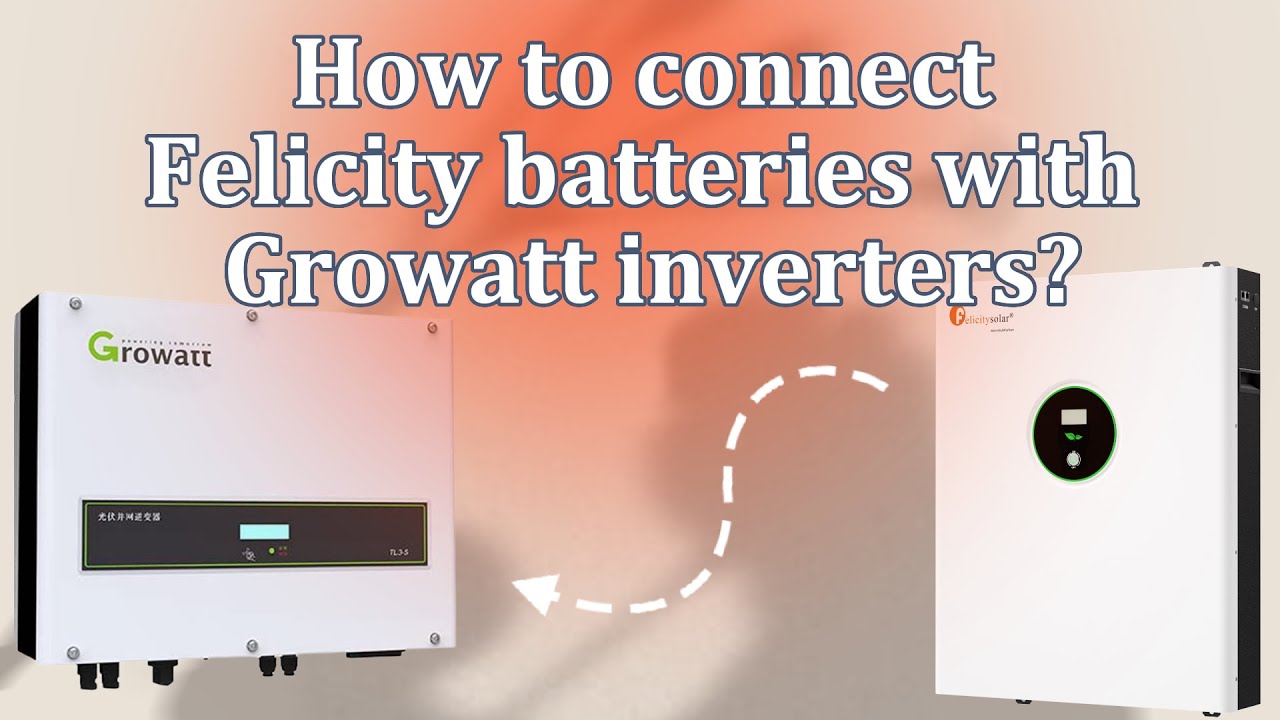
Credit: www.youtube.com
Essential Equipment And Tools
Before starting, gather all the necessary items. This prevents delays and helps ensure safety.
- Growatt inverter (model compatible with lithium batteries)
- Lithium battery (LiFePO4, 48V recommended)
- Battery communication cable (RS485 or CAN, depending on battery and inverter)
- DC wiring (copper wire, size depends on current)
- MC4 connectors (for solar panel connections)
- Circuit breaker or fuse (for safety between battery and inverter)
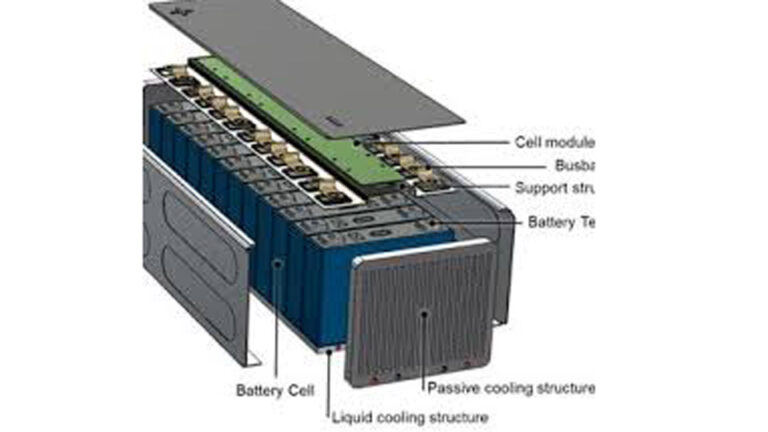
- Battery management system (BMS) (usually built into lithium batteries)
- Multimeter (for voltage testing)
- Insulation tape and cable ties
- Protective gloves and safety goggles
Non-obvious insight: Many lithium batteries come with a built-in BMS, but you should double-check. If not, an external BMS is essential for safe operation.
Safety Precautions
Always prioritize safety when working with high-voltage batteries and inverters. Here are important steps:
- Turn off power to all devices before connecting anything.
- Wear insulated gloves and safety goggles.
- Check for correct polarity (positive/negative terminals).
- Use a fuse or breaker between battery and inverter to protect against short circuits.
- Keep water and metal objects away from the work area.
Understanding Communication Protocols
Modern lithium batteries and Growatt inverters use digital communication for smarter energy management. The most common protocols are RS485 and CAN. These allow the inverter to read battery status, adjust charging rates, and avoid overcharging.
If your battery supports these protocols, it usually comes with a communication cable. Plug this cable into the battery and the inverter’s communication port. If your battery doesn’t support communication, you must set the inverter to “lead-acid mode,” which is less efficient and less safe.
Here’s how communication protocols compare:
| Protocol | Speed | Compatibility | Benefits |
|---|---|---|---|
| RS485 | Moderate | Most lithium batteries | Stable, widely used |
| CAN | Fast | High-end batteries | High efficiency, advanced features |
| Modbus | Variable | Industrial batteries | Customizable, complex setups |
Tip: If your battery and inverter both support CAN, use it for the best performance.
Step-by-step Guide: Connecting Lithium Battery To Growatt Inverter
Now, let’s walk through the process of connecting your lithium battery to your Growatt inverter. Follow these steps carefully for a safe and reliable setup.
1. Check Compatibility
- Confirm your Growatt inverter supports lithium batteries. Models like Growatt SPF 5000ES or Growatt MIN 5000TL-X are popular.
- Check battery specs: Voltage (48V), communication protocol, and capacity.
2. Prepare Your Work Area
- Set up in a dry, clean space.
- Ensure you have good lighting.
- Keep tools and cables organized.
3. Install Battery Management System (bms)
- Most lithium batteries have a built-in BMS.
- If not, install an external BMS between battery and inverter.
4. Connect Communication Cable
- Use the RS485 or CAN cable provided with your battery.
- Plug one end into the battery’s communication port and the other into the inverter’s port.
- Secure the cable to avoid accidental disconnection.
5. Wire The Battery To The Inverter
- Identify positive (red) and negative (black) terminals on both battery and inverter.
- Connect DC wires from battery terminals to inverter terminals.
- Use proper gauge wire (typically 8 AWG or thicker for 48V systems).
Tip: A loose connection can cause overheating and damage. Tighten all terminals firmly.
6. Install Circuit Breaker Or Fuse
- Place a breaker or fuse in the positive wire, close to the battery.
- This protects against short circuits and overloads.
7. Secure All Connections
- Use insulation tape to wrap exposed wire.
- Use cable ties to organize wiring.
8. Set Inverter To Lithium Battery Mode
- Power on the inverter (without solar input).
- Enter the inverter’s settings menu (usually via LCD screen or app).
- Select “Lithium Battery” mode.
- Choose battery brand/model if listed. If not, select “User Defined.”
9. Configure Battery Parameters
- Set voltage range (typical: 46V–58V for LiFePO4).
- Set charge/discharge current to match battery specs.
- Enable communication protocol (RS485/CAN).
10. Test The System
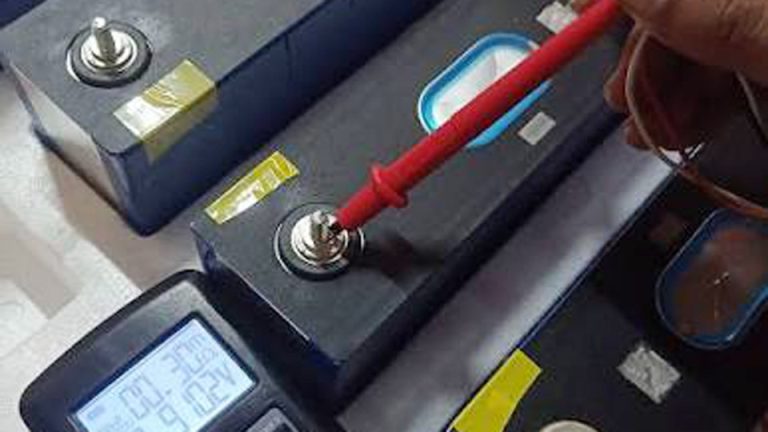
- Use a multimeter to check voltage at the battery and inverter terminals.
- Power on the inverter and check the LCD for battery status.
- If the inverter reads battery capacity and voltage, communication is working.
11. Connect Solar Panels (optional)
- If you’re using solar panels, connect them to the inverter’s PV input using MC4 connectors.
- Check for proper voltage and current.
12. Monitor Performance
- Watch the battery charge/discharge cycles on the inverter display.
- Check for error codes or warnings.
Non-obvious insight: Some Growatt inverters allow remote monitoring via Wi-Fi or Bluetooth. Set this up if possible to track battery health and system performance.
Troubleshooting Common Issues
Even with careful setup, problems can occur. Here’s how to handle them:
- No Battery Detected: Check communication cable and protocol settings. Try switching ports or replacing the cable.
- Overheating: Loose connections or wrong wire size can cause overheating. Inspect and tighten all terminals.
- Inverter Error Codes: Refer to your Growatt manual for specific codes. Most can be solved by resetting the inverter or checking battery settings.
- Low Charge Rate: If the inverter charges slowly, check the battery’s maximum charge current and adjust the inverter settings.
Tip: If you see repeated error codes, contact Growatt customer support or your battery manufacturer.
Maximizing Battery Life And Performance
Proper installation is just the beginning. To get the most from your lithium battery and Growatt inverter, follow these best practices:
- Set correct charge/discharge limits based on battery specs.
- Avoid deep discharging (below 20% capacity).
- Keep the battery in a cool, dry place (ideal: 68–77°F).
- Check connections every 6 months for corrosion or loosening.
- Use remote monitoring features to track battery health.
Here’s a quick summary of how lithium batteries compare to lead-acid for inverter use:
| Feature | Lithium Battery | Lead-acid Battery |
|---|---|---|
| Efficiency | 90–95% | 75–80% |
| Cycle Life | 5,000+ | 1,500 |
| Maintenance | Low | High |
| Weight | Light | Heavy |
| Communication | Yes | No |
| Safety | Very High | Medium |
Real-world Example: Home Backup System
Let’s look at a practical example. Imagine you have a Growatt SPF 5000ES inverter and a 48V 200Ah LiFePO4 battery. You want to power your home during outages.
- Total capacity: 48V × 200Ah = 9,600Wh (9.6kWh)
- Backup time: If your home uses 1.5kW/hour, you get about 6.4 hours of backup.
- Installation: Follow the steps above, set inverter to lithium mode, and configure charge/discharge current to 50A.
- Solar input: With a 5kW solar array, you can recharge the battery in under 2 hours of full sun.
This setup offers reliable backup, quick charging, and easy monitoring.
Common Mistakes To Avoid
Even experienced users make mistakes. Here are some you can avoid:
- Skipping communication cable: Without it, battery management is weak.
- Wrong voltage: A 24V battery won’t work with a 48V inverter.
- Loose connections: Always tighten terminals. Loose wires can cause fires.
- Incorrect settings: Double-check inverter and battery parameters.
- Ignoring safety: Always wear protective gear.
Tip: If you’re unsure, consult an electrician or solar installer.

Credit: greenrich.co.za
Cost And Investment
Connecting a lithium battery to a Growatt inverter is an investment. Here’s a rough breakdown:
- Growatt inverter: $800–$1,200
- LiFePO4 battery (48V 100Ah): $900–$1,300
- Cables and accessories: $100–$200
Over 10 years, lithium batteries save money through fewer replacements and higher efficiency.
Maintenance And Monitoring
Lithium batteries require less maintenance than lead-acid, but regular checks are important:
- Inspect connections every 6 months.
- Check battery voltage and inverter settings.
- Update inverter firmware if available.
- Clean dust from inverter and battery terminals.
Use the Growatt app or LCD screen to monitor battery health. Some batteries have their own apps for real-time data.
Environmental Benefits
Switching to lithium batteries reduces environmental impact. They are more recyclable, use less toxic material, and need fewer replacements. Combined with solar panels, this setup cuts carbon emissions by up to 50% compared to grid power.
Final Thoughts
Connecting a lithium battery to a Growatt inverter is a smart move for anyone seeking reliable backup or solar energy. With careful planning, correct equipment, and attention to detail, you can enjoy efficient, safe, and long-lasting power. Whether you’re upgrading your home or setting up a new solar system, following these steps will help you achieve the best results.
Frequently Asked Questions
How Do I Know If My Growatt Inverter Supports Lithium Batteries?
Check your inverter’s manual or look for “Lithium Battery” mode in the settings menu. Models like Growatt SPF 5000ES and Growatt MIN 5000TL-X support lithium batteries.
What Is The Safest Lithium Battery Type For Growatt Inverters?
LiFePO4 (Lithium Iron Phosphate) batteries are safest. They are stable, last long, and are widely compatible with Growatt inverters.
Can I Use A Lithium Battery Without A Communication Cable?
You can, but it’s not recommended. The inverter won’t manage charging properly, which can damage the battery. Always use the RS485 or CAN cable if available.
How Often Should I Check My Battery Connections?
Check every 6 months for corrosion or loose terminals. This keeps your system safe and efficient.
What Happens If I Connect A Battery With The Wrong Voltage?
The inverter may not start or could be damaged. Always use a battery with the correct voltage (usually 48V for Growatt inverters).