How to Disconnect Ground Cable From Car Battery Safely
You pop the hood to replace a battery, install a new stereo, or troubleshoot an electrical problem, and then hesitate at the same question: which battery cable should come off first? If you’re wondering how to disconnect ground cable from car battery safely, you’re not alone.
I’ve met plenty of DIY car owners who were nervous about creating sparks or accidentally damaging sensitive electronics.
The ground cable may look like just another battery connection, but removing it correctly is one of the most important safety steps when working on your vehicle.
Disconnecting the wrong cable first can increase the risk of short circuits, blown fuses, or even damage to expensive electrical components. Taking an extra minute to follow the proper procedure can save you from costly repairs and unnecessary frustration.
Whether you’re replacing a battery, cleaning corroded terminals, or performing routine maintenance, using the right tools and following the correct sequence makes the job much safer and easier.
I’ll walk you through each step, explain why the ground cable always comes first, and share a few practical tips I’ve learned over years of working on car batteries so you can complete the job with confidence.
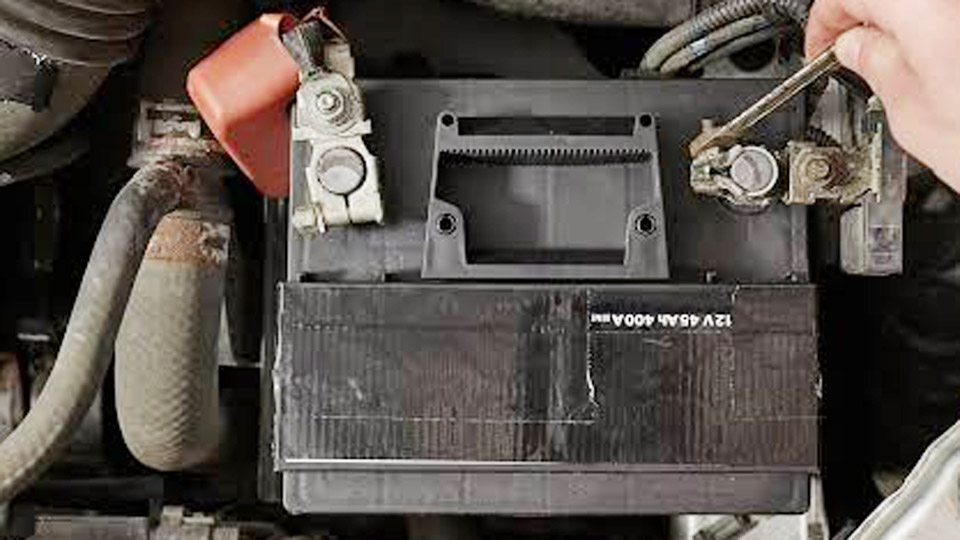
Image by carparts
Why Disconnecting the Ground Cable Matters in Real Life
Batteries store a lot of energy. A standard 12V car battery can deliver hundreds of amps in a short. Touch the wrong terminal with a wrench while the positive is still connected, and you create a direct short to the chassis ground. Sparks fly, metal melts, and you risk damaging the battery, alternator, or expensive modules in modern vehicles.
I’ve seen beginners and even some pros blow fuses or worse because they started with the positive terminal. In solar or deep-cycle setups, the stakes are higher—systems often run at 24V or 48V with massive capacity. Proper disconnection is the foundation of safe work.
Step-by-Step: How to Disconnect Ground Cable from Car Battery
Tools and Safety First
- Insulated wrench or socket set (usually 8mm–13mm, often 10mm)
- Safety glasses and gloves
- Baking soda and water for cleaning corrosion
- Rag or towel for insulation
- Optional: battery terminal puller and anti-corrosion spray
Prepare the Vehicle
Turn off the engine, remove the key, and wait 10–15 minutes for capacitors to discharge. Disable accessories, lights, and the radio. In modern cars, this helps preserve memory settings, but always check your owner’s manual—some vehicles need a memory saver.
Locate the Battery
Most are under the hood, but some sit in the trunk or under seats. Identify terminals: negative (–) is usually black and marked with a minus sign; positive (+) is red with a plus.
Disconnect the Negative (Ground) Cable First
Loosen the nut on the negative terminal. Wiggle the clamp gently and lift it off the post. Tuck the cable away from the battery so it can’t accidentally touch the terminal. Wrap it in a rag if needed.
Disconnect the Positive Cable
Repeat on the positive side. Keep tools clear of both terminals simultaneously.
Remove the Battery (If Needed)
Undo hold-down brackets. Lift carefully—batteries are heavy and can leak acid if damaged.
Reconnecting in Reverse
Positive first, then negative. Tighten securely but don’t overtighten. Start the vehicle and check for issues.
This process takes five minutes once you’re used to it and prevents most accidents.
Understanding Battery Types: Choosing the Right One for Your Needs
Not all batteries behave the same. Here’s what I’ve learned from real installations.
Flooded Lead-Acid
Traditional wet-cell batteries. Affordable, widely available. They require checking electrolyte levels and venting gases. Great for basic cars but sensitive to deep discharges.
AGM (Absorbed Glass Mat)
Sealed, maintenance-free, spill-proof. Handles vibration and deep cycles better than flooded. Common in modern vehicles with start-stop tech. More expensive upfront but lasts longer in demanding conditions.
Gel
Similar to AGM but uses gel electrolyte. Excellent for deep cycling but charges slower and is sensitive to overcharging. Less common now for automotive use.
Lithium-Ion and LiFePO4
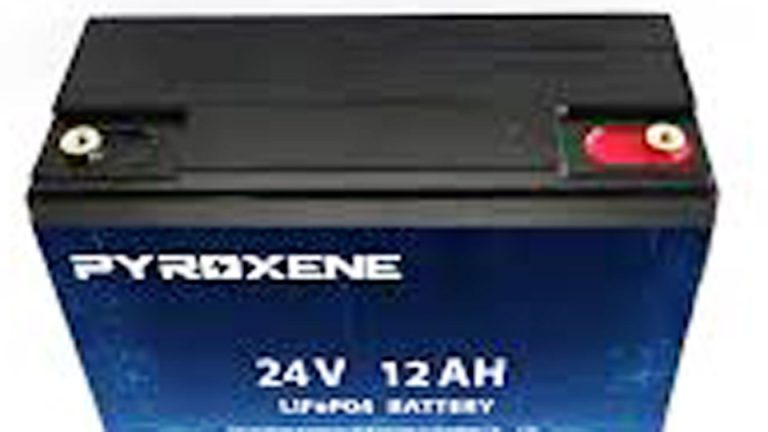
Game-changers for solar, RVs, and high-performance setups. LiFePO4 is safest and most stable. They offer 2,000–5,000+ cycles, lighter weight, faster charging, and better efficiency. Higher initial cost, but total ownership cost drops dramatically.
Comparison Table
| Battery Type | Lifespan (Cycles) | Cost | Maintenance | Best For | Pros | Cons |
|---|---|---|---|---|---|---|
| Flooded Lead-Acid | 300–800 | Low | High | Basic cars, budget | Cheap, easy to find | Needs watering, spills, shorter life |
| AGM | 500–1,200 | Medium | Low | Modern vehicles, marine | Vibration resistant, sealed | More expensive than flooded |
| Gel | 500–1,000 | Medium | Low | Deep cycle solar | Deep discharge tolerant | Slow charge, heat sensitive |
| LiFePO4 | 2,000–5,000+ | High | Very Low | Solar, RV, off-grid | Lightweight, efficient, long life | Higher upfront cost, needs BMS |
Real-world example: In my off-grid solar shed, switching from AGM to LiFePO4 doubled usable capacity and eliminated monthly maintenance.
Voltage, Capacity, and How Batteries Actually Work
A healthy 12V battery rests around 12.6–12.8V when fully charged. Under load, it shouldn’t drop below ~9.6V for cranking. Capacity is measured in Amp-hours (Ah) for how long it can supply current, or Watt-hours (Wh) for total energy.
Charging voltage matters enormously. Flooded/AGM typically need 13.8–14.7V bulk/absorption. LiFePO4 prefers specific profiles—usually 14.2–14.6V. Using the wrong charger cooks batteries fast.
Charging Methods and Best Practices
- Trickle Chargers: Good for storage.
- Smart Chargers: Best choice—they detect type and adjust.
- Vehicle Alternator: Fine for daily driving but not ideal for deep-cycle recovery.
- Solar Controllers: MPPT types maximize harvest for off-grid.
Correct Ranges (approximate):
- Float: 13.2–13.8V
- Absorption: 14.4–14.8V for lead-acid
- Never exceed manufacturer specs.
I once left a cheap charger on a flooded battery over winter— it boiled dry and sulfated. Lesson learned: always use temperature-compensated smart chargers.
Battery Maintenance Routines That Actually Work
Check terminals monthly for corrosion. Clean with baking soda paste and a brush. For storage, keep at 50–80% charge in a cool, dry place. Lithium handles cold better but still prefers moderate temps.
In solar systems, equalize flooded batteries periodically (carefully) and monitor specific gravity with a hydrometer.
Common Mistakes That Kill Batteries Prematurely
- Disconnecting positive first (short risk).
- Overcharging or undercharging.
- Ignoring corrosion.
- Storing discharged.
- Using wrong voltage chargers.
- Deep cycling flooded batteries repeatedly.
Professionals sometimes overtighten terminals or skip cleaning—both cause resistance and heat.
Troubleshooting Battery Issues
Dim lights, slow cranking, or clicking? Test voltage. Load test at an auto parts store. For solar, watch for imbalance in banks.
Safety Considerations Across Applications
Always wear protection. Work in ventilated areas. Neutralize acid spills. In EVs or high-voltage systems, follow manufacturer isolation procedures—far beyond 12V car work.
For motorcycles, the process is identical but space is tighter. In UPS systems, ensure proper shutdown first.
Real-World Usage Examples
- Cars/Trucks: Regular disconnection for audio upgrades or storage.
- Solar/Off-Grid: Deep-cycle focus on longevity and efficiency.
- Power Tools/Electronics: Smaller lithium packs need different care but similar disconnection principles.
- Motorcycles: Vibration makes AGM or lithium preferable.
Practical Recommendations for Longevity
Match batteries in banks by type, age, and capacity. Use proper cabling (thick enough gauge). Invest in a good multimeter and battery monitor.
Store batteries charged and check every 1–3 months. For vehicles sitting, use maintainers.
Key Takeaways for Confident Battery Management
You’ve now got the exact steps for safely disconnecting the ground cable from your car battery, plus deep knowledge of types, charging, and maintenance.
Understanding these prevents failures, saves money, and keeps systems reliable whether you’re daily driving, powering a cabin, or prepping for emergencies.
The single best pro tip I can share: Invest in a quality battery monitor (Bluetooth ones are fantastic) and log voltage and usage patterns. Data beats guesswork every time—you’ll catch issues early and maximize every battery’s life.
FAQ
Should I disconnect the positive or negative terminal first on a car battery?
Always disconnect the negative (ground) cable first. This prevents accidental shorts with your tools. Reconnect positive first.
How do I know if my car battery needs replacement?
Slow cranking, voltage below 12.4V at rest, or failing load test. Age over 3–5 years is a red flag for lead-acid types.
Can I disconnect the battery while the car is running?
No—risk of voltage spikes damaging electronics and personal injury. Always shut off first.
What’s the best battery for solar storage?
LiFePO4 for most users due to cycle life, efficiency, and safety. AGM works well for smaller or budget setups.
How often should I clean battery terminals?
Every 3–6 months, or sooner if you see white/green corrosion. Regular cleaning prevents poor connections and extends life.