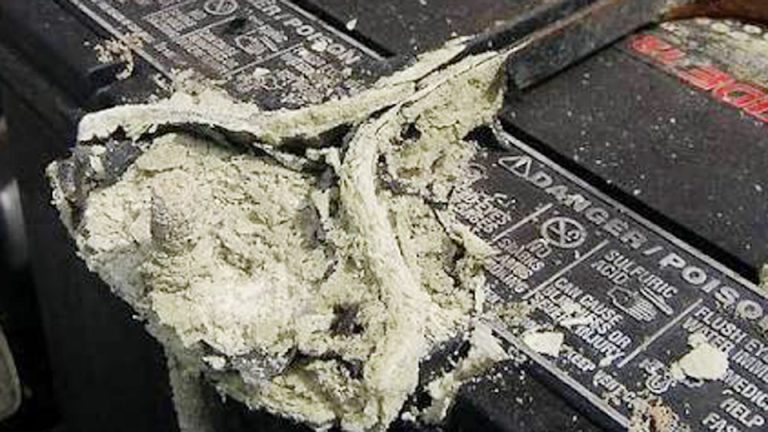
How to Remove Battery Cables from Car Safely & Correctly
You pop the hood to replace a dead battery, install a new stereo, or troubleshoot an electrical problem. Then you pause for a second, wondering which battery cable should come off first and whether removing the wrong one could damage your car. If you’ve asked yourself how to remove battery cables from car safely, you’re definitely not alone.
I’ve seen simple battery jobs turn into frustrating repairs because someone disconnected the cables in the wrong order or used the wrong tools.
A loose wrench, accidental short circuit, or skipped safety step can lead to blown fuses, damaged electronics, or even a ruined battery terminal. Spending a few extra minutes doing it correctly is far better than paying for an avoidable repair later.
The process itself isn’t complicated, but knowing the proper sequence and taking a few basic precautions makes all the difference. Whether you’re replacing a battery, cleaning corroded terminals, or performing routine maintenance, removing the cables the right way helps protect both you and your vehicle.
I’ll show you the exact steps I use to disconnect and reconnect car battery cables safely, explain the common mistakes to avoid, and share practical tips that make the job quicker, safer, and stress-free—even if it’s your first time working under the hood.
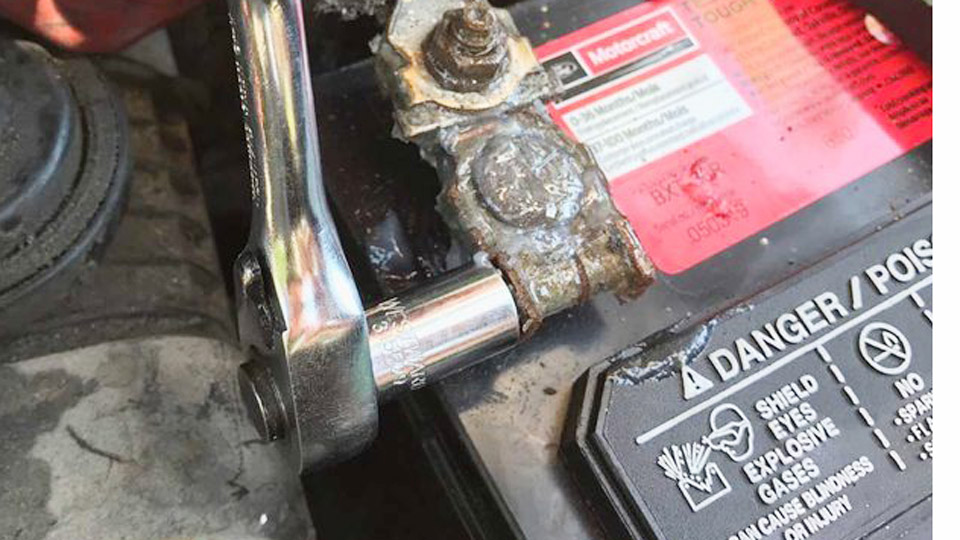
Image by familyhandyman
2Why Proper Battery Cable Removal Matters in Everyday Situations
Battery cables aren’t just wires—they carry high current between the battery, starter, alternator, and ground points. Corrosion, age, and vibration loosen connections or create resistance that drains power slowly or causes sudden failures.
Removing them incorrectly can damage terminals, strip threads, or create sparks near explosive hydrogen gas from lead-acid batteries.
In real life, this comes up when replacing a dead battery, cleaning terminals, troubleshooting charging issues, or winterizing a vehicle. For solar system owners or UPS users, similar principles apply when servicing deep-cycle banks. Doing it right extends battery life, prevents expensive alternator or ECU damage, and keeps you safe.
Understanding Car Battery Types Before You Touch the Cables
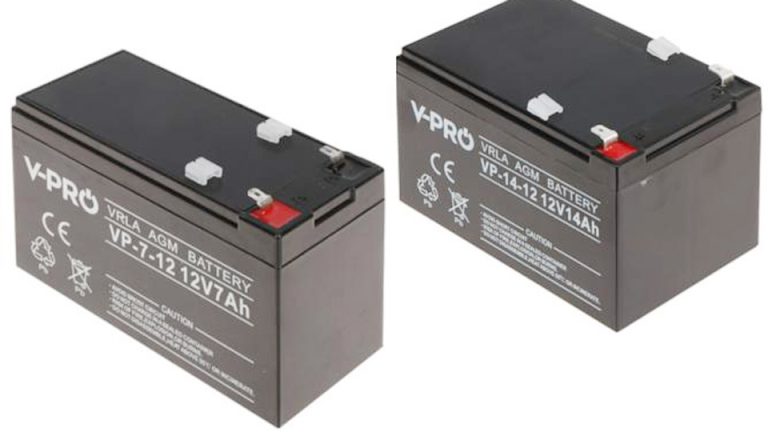
Different batteries demand slightly different handling. Lead-acid flooded batteries are common in older cars—liquid electrolyte, heavy, and prone to gassing. AGM batteries trap electrolyte in mats, making them spill-proof and more vibration-resistant for modern vehicles or performance applications.
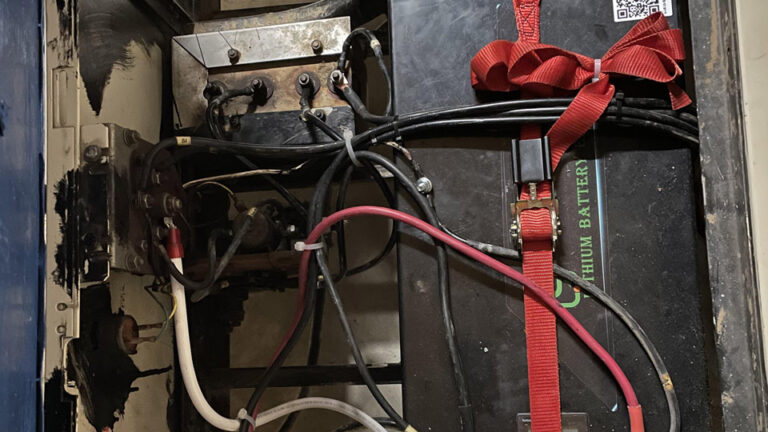
Gel types are rarer in cars but appear in some deep-cycle roles. Lithium-ion, especially LiFePO4, is lightweight with built-in BMS protection and is gaining ground in high-end or converted vehicles.
Voltage and Capacity Basics: Most passenger cars use 12V systems. Capacity is measured in Ah (amp-hours) for how long it can deliver current, or Wh for total energy. A typical car battery might be 50-100 Ah. Lithium packs often deliver more usable capacity because they tolerate deeper discharges without damage.
In my experience, flooded lead-acid needs the most caution during disconnection because of accessible acid. Lithium setups are generally safer electrically but still require care with high-current cables.
Tools and Safety Gear You Actually Need
Skip the fancy kits. In the garage, I rely on:
- Insulated wrench or socket set (10mm or 13mm common for terminals)
- Battery terminal puller (optional but helpful for stuck cables)
- Wire brush or terminal cleaner
- Baking soda and water for neutralization
- Safety glasses, gloves (nitrile or rubber), and long sleeves
- Multimeter for voltage checks
Work in a well-ventilated area. Never smoke or create sparks. Disconnect the negative cable first to reduce short-circuit risk. If the battery is swollen, leaking, or frozen, stop and call a professional—those are hazards beyond basic removal.
Step-by-Step: How to Remove Battery Cables from a Car
Preparation
Park on level ground, turn off the ignition, and remove the key. Set the parking brake. For automatic transmissions, ensure it’s in Park. Gather your tools nearby so you aren’t fumbling.
Step 1: Identify Positive and Negative Terminals
Positive is usually marked with a red cover or + sign and connects to the starter/alternator. Negative (black, – sign) grounds to the chassis or engine block. Take a quick photo of the setup with your phone—cable routing and accessory connections save headaches on reinstallation.
Step 2: Loosen and Remove the Negative Cable First
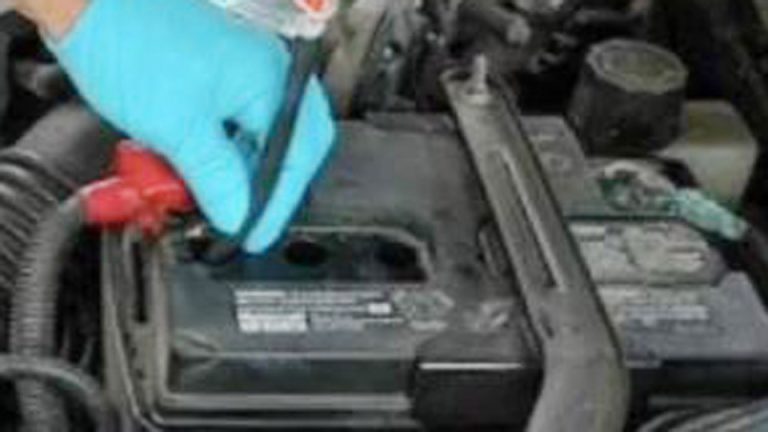
Always start negative. Use the correct socket to loosen the clamp nut. If corroded, apply penetrating oil sparingly, let it sit, then gently work the clamp. Wiggle the cable while lifting—don’t force or pry with a screwdriver, which can damage the terminal or post. If stuck, a dedicated terminal puller applies even pressure.
Once free, tuck the negative cable away from the battery to prevent accidental contact.
Step 3: Remove the Positive Cable
Repeat the process for the positive side. This cable often has more accessories attached—note any fusible links or extra grounds. On some vehicles, you may need to remove a plastic cover or heat shield first.
Step 4: Remove the Battery Hold-Down
Most batteries are secured with a bracket or strap. Loosen bolts or nuts and lift the battery out carefully—it’s heavy, especially flooded lead-acid types. Support the bottom to avoid dropping it.
Step 5: Clean Everything
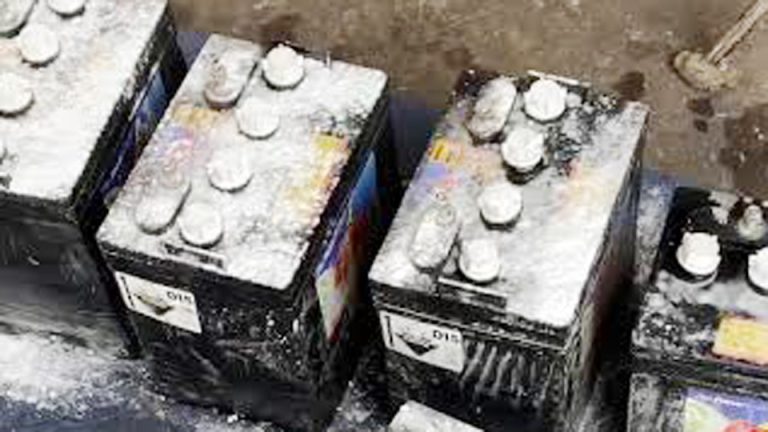
While the battery is out, clean terminals and cable ends with baking soda solution and a brush. Corrosion increases resistance and can prevent proper reconnection. Rinse and dry thoroughly.
This entire process usually takes 10-20 minutes once you’re practiced. In solar or UPS banks, the same sequence applies but scaled to larger banks—always isolate negative first across the system.
Common Mistakes Even Experienced People Make
I’ve fixed plenty of these:
- Removing positive first, which raises the chance of shorting a wrench across the chassis.
- Using the wrong size wrench and rounding off terminals.
- Forgetting to disconnect accessories or memory-saving devices, leading to drained batteries or lost radio presets (use a memory keeper if needed).
- Reinstalling without cleaning, which causes poor contact and recurring issues.
- Overtightening clamps on reinstall, cracking posts.
For lithium batteries, avoid high torque that could stress the BMS terminals. In cold weather, warm the area first—frozen cables snap more easily.
Battery Charging and Maintenance After Cable Work
Once cables are off, inspect the battery. Test voltage: a healthy 12V lead-acid rests around 12.6V+ when fully charged. Charge properly before reinstalling. Use a smart charger matched to your battery type—flooded, AGM, or lithium have different profiles to avoid overcharging or undercharging.
Voltage Ranges: Chargers typically output 13.8-14.8V for lead-acid absorption. Lithium often needs specific BMS-compatible chargers. Wrong voltage is one of the fastest ways to kill a battery.
Maintenance routines matter: Check fluid levels in flooded types monthly (distilled water only). For all types, keep terminals clean and tight. Store spare batteries in cool, dry conditions at partial charge for lead-acid or near full for lithium.
Battery Lifespan, Degradation, and Real-World Performance
A quality car battery lasts 3-7 years depending on climate, driving habits, and maintenance. Heat accelerates degradation; cold reduces cranking power. Sulfation in lead-acid from partial charges is common in short-trip vehicles. Lithium lasts longer with thousands of cycles but costs more upfront.
Comparison Table:
| Battery Type | Lifespan (Years) | Weight | Maintenance | Cost | Deep Discharge | Typical Use Cases |
|---|---|---|---|---|---|---|
| Flooded Lead-Acid | 3-5 | Heavy | High | Low | Moderate | Older cars, budget solar |
| AGM | 4-7 | Medium | Low | Medium | Good | Modern vehicles, motorcycles |
| Gel | 4-6 | Medium | Low | Medium | Good | Deep-cycle, marine |
| Lithium (LiFePO4) | 8-12+ | Very Light | Very Low | High | Excellent | High-performance, solar, EVs |
Pros of lead-acid: Affordable and widely available. Cons: Heavy, maintenance-heavy, shorter life. Lithium wins on efficiency and weight but requires compatible systems.
Troubleshooting When Things Go Wrong
Battery won’t disconnect? Corrosion or seized clamps—penetrating oil and patience. Sparks during removal? You likely contacted metal with a live wrench—stop, insulate better. Post-removal, car has electrical gremlins? Check grounds and fuses. For solar setups, imbalance in a bank can mimic single-battery issues.
In motorcycles, space is tight—smaller tools and careful routing prevent pinched wires. UPS systems often have multiple batteries; label everything.
Practical Recommendations for Different Applications
Cars and Trucks: Disconnect during long storage to prevent parasitic drain. For winter, a trickle maintainer helps.
Motorcycles: Batteries are smaller and more exposed—clean terminals more often due to road grime.
Solar and Off-Grid: Larger cables and higher Ah banks mean heavier current. Use proper disconnects and fuses.
Power Tools and Electronics: Smaller sealed batteries follow similar disconnection but with less torque.
Always match replacement batteries to the vehicle’s requirements—mixing types or ages causes imbalance. For high-draw accessories like winches or audio systems, consider upgraded cables.
Safety Considerations Across All Battery Work
Hydrogen gas from lead-acid is explosive—ventilate. Acid burns skin and eyes—neutralize immediately. Lithium thermal runaway is rare in proper handling but avoid puncturing cells. Wear protection, work methodically, and never rush near live circuits.
In professional shops, we double-check voltage after reconnection and test the charging system. A quick alternator output check (around 13.5-14.5V running) catches issues early.
Real-Life Scenarios I’ve Encountered
A customer brought in a truck that died intermittently. Corroded negative cable caused high resistance—removal and cleaning fixed it instantly. Another had a lithium conversion in an older car; the lighter weight improved performance noticeably, but proper low-voltage cutoff via BMS was key.
Short-trip city driving kills flooded batteries fastest due to incomplete charging. In solar backups, consistent full charges prevent the same sulfation problems.
Key Takeaways for Confident Battery Work
You’ve now got the practical sequence for safely removing battery cables, plus the context on why battery types behave differently, how charging affects longevity, and the mistakes that turn simple jobs into expensive repairs.
Understanding flooded versus AGM versus lithium lets you choose and maintain the right one for your car, solar array, or backup system. Proper disconnection, cleaning, and reconnection are foundational skills that pay off every time you service a vehicle or power setup.
After reconnecting cables, apply a thin layer of dielectric grease to terminals. It prevents future corrosion without interfering with conductivity—something that separates weekend jobs from systems that stay reliable for years.
FAQ
How do I remove stuck battery cables from a car without damaging the terminals?
Apply penetrating oil, wait 10-15 minutes, then use a terminal puller or gently tap while wiggling. Never pry with a screwdriver. Clean thoroughly before reinstalling.
Do I disconnect positive or negative battery cable first?
Always negative first. This minimizes the risk of short-circuiting the positive terminal to ground with your tools.
What tools do I need to remove car battery cables?
A 10mm or 13mm wrench/socket, wire brush, baking soda solution, and gloves. A terminal puller helps with corroded connections.
Can I remove battery cables without a wrench?
It’s not recommended and often leads to stripped terminals or incomplete disconnection. Proper tools make the job safe and clean.
How long does it take to remove and reinstall car battery cables?
10-30 minutes for most DIYers, depending on corrosion and vehicle access. Practice makes it faster.