How to Charge 12V Lead Acid Battery with Solar Panel Safely
A friend recently called me because his small solar panel had been sitting in the sun all day, yet his 12V lead-acid battery barely gained any charge. He was convinced the battery had failed, but after taking a quick look, the real issue was the charging setup.
Situations like this are exactly why people search for how to charge 12V lead acid battery with solar panel the right way.
I’ve seen plenty of batteries lose capacity long before their expected lifespan—not because they were old, but because they were charged incorrectly.
Connecting a solar panel directly to a battery, choosing the wrong panel size, or skipping a charge controller can lead to undercharging, overcharging, or permanent battery damage. Those mistakes can cost far more than the price of the proper equipment.
Whether you’re charging a car battery, powering a camping setup, or building a small off-grid solar system, understanding the correct charging process makes a big difference. It helps extend battery life, improves charging efficiency, and keeps your system running safely and reliably.
I’ll show you the exact steps I recommend, explain what equipment you actually need, and share practical tips to help you charge your 12V lead-acid battery with solar power safely and efficiently while avoiding the common mistakes I see all the time.
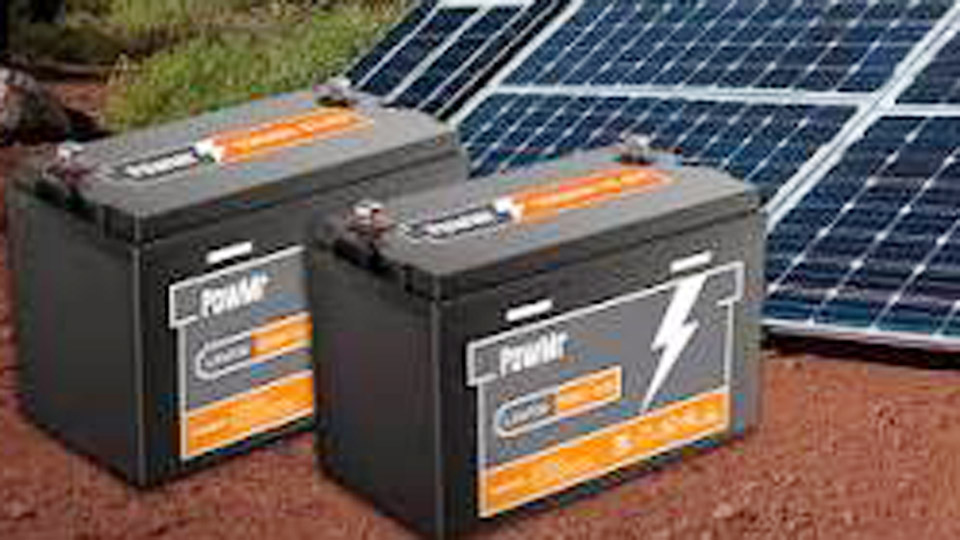
Image by powmr
Understanding 12V Lead Acid Batteries
Lead acid batteries have been around forever for good reason—they’re reliable, affordable, and widely available. A standard 12V lead acid battery consists of six cells, each nominally 2V. When fully charged, it sits around 12.6–12.8V at rest. Under load, voltage drops, and during charging, it rises higher to push current back in.
Key specs to know:
Capacity: Measured in Amp-hours (Ah). A 100Ah battery can theoretically deliver 1A for 100 hours or 5A for 20 hours (though real-world Peukert’s law and efficiency reduce this).
Voltage ranges: Fully charged rest voltage ~12.6–12.8V; discharged below 12.0V is risky; never let it sit below 10.5–11.5V for long.
Types:
Flooded (wet cell): Traditional, with liquid electrolyte. Cheapest, but requires maintenance (distilled water top-ups), venting for gases, and upright positioning.
AGM (Absorbent Glass Mat): Electrolyte absorbed in fiberglass mats. Sealed, maintenance-free, vibration-resistant, better for deep cycling, and can be mounted in any orientation. More expensive upfront but longer life in many applications.
Gel: Electrolyte in a gel form. Excellent for deep discharge, very low self-discharge, but sensitive to overcharging and high currents. Less common for automotive starting but great for solar/storage.
Lithium options like LiFePO4 are rising in popularity for solar, but since the focus here is lead acid, I’ll stick to those while noting comparisons where relevant.
In my experience, flooded batteries are fine for stationary solar or occasional car use if you maintain them. AGM shines in vehicles, RVs, or anywhere vibration or spills are concerns. Gel works well in solar but demands precise charging.
Why Solar Charging Makes Sense for 12V Lead Acid Batteries
Solar is perfect for topping off or maintaining 12V batteries because it provides a slow, steady charge that mimics ideal float or maintenance charging. In off-grid cabins, RVs, boats, or as emergency backups, it prevents the slow drain that kills batteries sitting unused.
Real-world example: A friend with a classic car that sits in the garage for weeks used a small solar panel and controller. No more dead batteries in spring. For solar homeowners, it directly integrates with your array to keep deep-cycle banks healthy without running a generator.
Benefits:
- Low ongoing cost after initial setup.
- Automatic maintenance with the right controller.
- Reduces sulfation by keeping batteries topped up.
Challenges: Variable sunlight means you need proper sizing and regulation to avoid under- or over-charging.
Essential Components for Charging a 12V Lead Acid Battery with Solar
You can’t just hook a solar panel straight to the battery safely. Voltage from panels (often 17–22V open circuit for “12V” panels) can overcharge or damage without control.
Solar Panel(s): Start with wattage based on battery size. For a 100Ah battery, aim for 100–200W or more for reasonable charge times (considering 4–5 peak sun hours daily). Higher wattage panels work but need a good controller.
Charge Controller: Mandatory. PWM is cheaper for small systems; MPPT is more efficient (especially in varying conditions or with higher voltage panels) and can squeeze 20–30% more power. Choose one rated for lead acid with settings for flooded, AGM, or gel.
Wiring and Fuses: Use appropriate gauge wire (calculate voltage drop), fuses on positive lines, and proper connections.
Optional: Battery monitor (voltmeter or shunt-based like Victron BMV) for state of charge (SoC), temperature sensor for compensation.
Step-by-Step: How to Charge a 12V Lead Acid Battery with Solar
Safety first: Wear gloves and eye protection. Work in a ventilated area. Disconnect loads if possible.
- Assess and prepare the battery:
- Clean terminals (baking soda + water for corrosion).
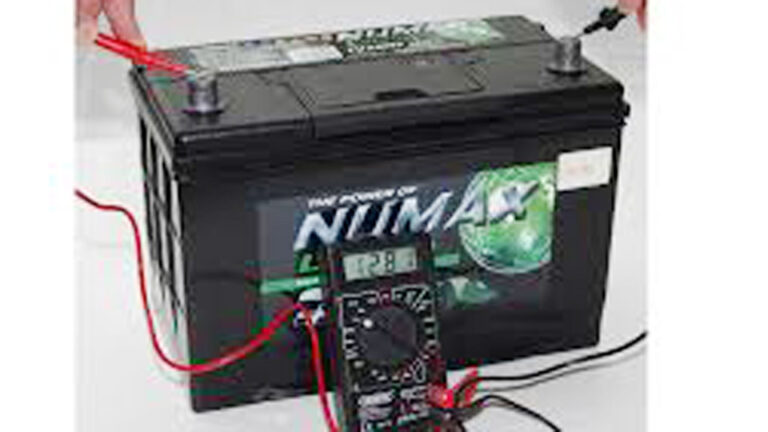
- Test voltage: Fully charged rest ~12.6V+. Use a load tester or hydrometer (for flooded) for deeper health check.
- For flooded: Check electrolyte levels; top with distilled water only after charging if needed.
- Choose and set up the charge controller:
- Connect controller to battery first (positive then negative).
- Set battery type: Flooded (higher voltages), AGM/Gel (lower to prevent gassing). Typical settings:
- Bulk/Absorption: 14.4–14.8V for flooded; 14.1–14.7V for AGM/gel.
- Float: 13.2–13.8V.
- Temp compensation: Important in hot/cold climates.
- Enable equalization sparingly for flooded only (15–16V periodically).
- Connect solar panel:
- Panel to controller input.
- Position for full sun, south-facing, tilted properly for your latitude.
- Monitor:
- Watch voltage rise through bulk (high current), absorption (tapering current, constant voltage), then float.
- Full charge when current drops low (e.g., <2% of Ah capacity) and voltage stabilizes.
Expect 5–10+ hours of good sun for a decent recharge, depending on depth of discharge (DoD). Never discharge below 50% regularly for longevity—lead acid hates deep cycles compared to lithium.
Charging Methods and Voltage Ranges
Solar uses multi-stage charging via the controller:
- Bulk: Max current until ~80% SoC.
- Absorption: Holds voltage to finish safely.
- Float: Maintenance to prevent self-discharge.
- Equalization (flooded only): Occasional high voltage to desulfate and balance cells.
Practical tips:
- Match controller to your battery chemistry exactly. Using flooded settings on AGM can cause gassing and dry-out.
- In cold weather, voltages increase slightly; hot weather, decrease.
- For multiple batteries in parallel: Ensure even wiring (same length cables) to prevent imbalance.
Common mistake: Assuming a “12V” panel is exactly 12V—it isn’t, and direct connection without a controller risks overcharge, especially on smaller batteries.
Battery Types Comparison: Lead Acid Variants for Solar and Automotive Use
Here’s a practical comparison based on hands-on use:
| Battery Type | Cost | Maintenance | Deep Cycle | Vibration Resistance | Lifespan (cycles) | Best For |
|---|---|---|---|---|---|---|
| Flooded | Low | High (water, venting) | Good | Low | 500–1000 | Stationary solar, budget setups |
| AGM | Medium | None | Excellent | High | 800–1500+ | Vehicles, RVs, marine |
| Gel | Medium-High | None | Excellent | Medium-High | 800–1200 | Solar storage, sensitive electronics |
Pros/Cons summary:
- Flooded: Cheap to buy, but labor-intensive and risky if neglected.
- AGM: Forgiving, no spills, faster recharge acceptance.
- Gel: Great self-discharge resistance but hates high charge rates—use conservative settings.
For solar, AGM or flooded deep-cycle are popular. Lithium beats them in weight, efficiency, and cycles but costs more.
Sizing Your Solar System Properly
Rule of thumb: Solar watts ≈ battery Ah / 5 to 10 for daily recharge in average sun. For a 100Ah battery at 50% DoD (50Ah needed), with 5 sun hours and system losses (~20%), aim for ~150–250W panels.
Calculate properly: Daily energy need (Wh) / sun hours / efficiency. Oversize slightly for cloudy days.
Real-World Applications
- Cars/Motorcycles: Trickle charge maintainer panels prevent drain from alarms or parasitic loads.
- Solar Systems: Deep-cycle banks for off-grid—pair with MPPT for efficiency.
- UPS/Backup: Reliable for short outages; solar keeps them topped.
- Power Tools/Electronics: Portable setups with small panels.
I’ve used 50–100W panels with PWM controllers on truck batteries successfully for years.
Maintenance Routines That Extend Life
- Check voltage monthly.
- For flooded: Inspect water levels, clean terminals.
- Equalize flooded batteries every 1–3 months if heavily cycled.
- Store fully charged in cool, dry place; recharge if below ~12.4V. Avoid freezing.
- Avoid mixing old/new batteries.
Common Mistakes and How to Avoid Them
- No charge controller: Direct connect leads to overcharge/gassing.
- Wrong voltage settings: Over-volting sealed batteries causes failure; under-volting causes sulfation.
- Under-sizing solar: Battery never reaches full charge, leading to gradual capacity loss.
- Ignoring temperature: Hot batteries need lower voltages.
- Deep discharges: Keep DoD under 50% for lead acid.
- Poor connections: Corrosion or loose wires cause issues.
- Storing discharged: Sulfation city—always store charged and check periodically.
Real failure I saw: A solar setup with PWM on AGM without proper float—batteries lasted half as long.
Safety Considerations
- Hydrogen gas from charging flooded batteries: Ventilate!
- Acid spills: Neutralize with baking soda.
- Overheating: Monitor; disconnect if hot.
- Short circuits: Use fuses.
- Never charge frozen batteries.
Troubleshooting Charging Issues
- Battery not charging: Check connections, controller settings, panel output (use multimeter).
- Overcharging: Wrong settings or faulty controller.
- Low capacity: Test with load; may need desulfation or replacement.
- Voltage drops fast: Check for parasitic drains or bad cells.
Step-by-step battery test:
- Charge fully, rest 4+ hours.
- Measure rest voltage.
- Apply load (e.g., headlights) and watch drop.
- Hydrometer for flooded specific gravity.
Practical Recommendations
- Correct charging: Aim for C/10 to C/20 rate (e.g., 5–10A for 100Ah).
- Compatibility: Match panel Voc to controller max input.
- Routines: Weekly visual checks, seasonal deep tests.
- Upgrades: Consider MPPT and smart monitors for better data.
Final Thoughts from the Workshop
After years tinkering with everything from car starters to large solar arrays, the biggest lesson is that consistent, correct charging beats fancy gear every time.
Understanding your battery type, using a quality charge controller with proper settings, and avoiding those common pitfalls will keep your 12V lead acid systems reliable for years. You’re now equipped to diagnose issues, set up solar charging safely, and make informed choices that save time and money.
Invest in a good battery monitor and log your charge cycles. Spotting a slow decline early lets you equalize or replace just one battery in a bank before it drags the whole system down.
FAQ
Can I connect a solar panel directly to a 12V lead acid battery?
No. Always use a charge controller to regulate voltage and prevent overcharging, which can damage the battery or create safety hazards. Direct connection works only in very limited, monitored trickle scenarios with small panels, but it’s risky.
What size solar panel do I need for a 100Ah 12V battery?
Around 100–200W or more, depending on sun hours and usage. Factor in losses and aim to replace daily draw plus some overhead for full recharge.
What’s the right charge voltage for AGM vs flooded lead acid?
Flooded: Absorption ~14.4–14.8V, float ~13.2–13.8V. AGM: Slightly lower absorption (14.1–14.7V) to avoid gassing. Always check manufacturer specs and use temperature compensation.
How long does it take to charge with solar?
It varies with panel size, sunlight, and DoD—typically several hours to a full day. Monitor current tapering to know when it’s done.
How do I maintain a lead acid battery in storage?
Keep fully charged, store cool and dry, check voltage every 1–3 months and top up as needed. Avoid letting it drop below 12.4V.